
I was able to enjoy a holiday getaway with my family in the beautiful Dominican Republic two weeks ago. We were walking to dinner one evening, and "O, Holy Night" was playing on the outdoor speakers. We looked up and saw the most spectacular starlit sky! This collection will always make me think of that moment. I hope you'll find this kit to be worthy of some of your special memories from 2015!
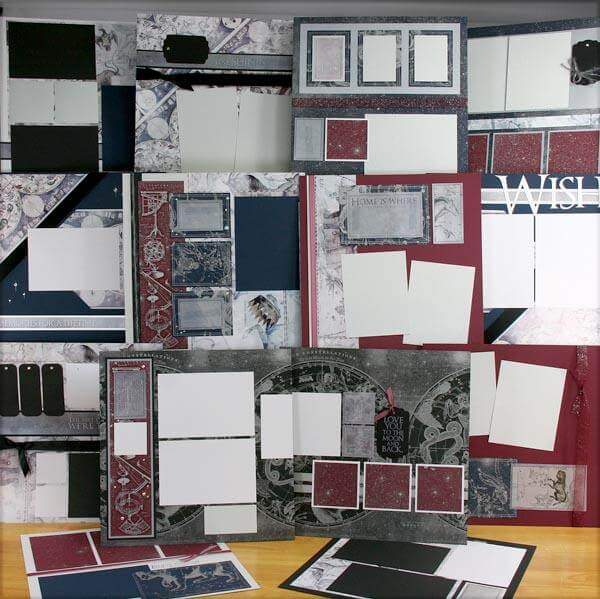
Constellations Deluxe Kit
Let's take a closer look at the layouts:
LAYOUTS 1 & 2

The "Wish" Stencil is my new best friend. For the page title, I flipped the stencil so the word was backwards and traced the lettering onto a sheet of White Plain. I cut out each letter and adhered it to the page. The font is perfect!

The stencil also has three stars in different sizes. The cross-shaped star is one layer, and the circular glow is a second layer. This allows you to control the depth and shading of the star. I then added a third accent layer with a Dazzle sticker.

LAYOUTS 3 & 4

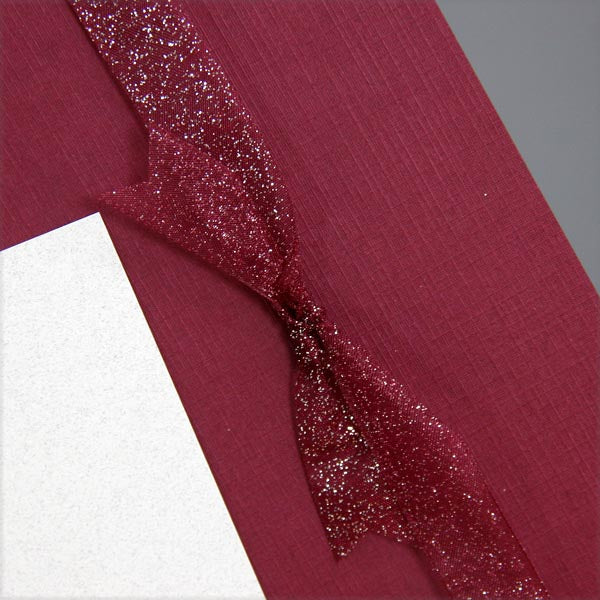
Brenda and I had a blast selecting the ribbons and fibers for this month's embellishment pack. This particular ribbon has a a soft iridescent sheen with a darker finished edge. The color lands spot on with the Burgundy paper.

It's difficult to see the detail on the scan or photo of the double page spread, but those little flat-backed rhinestones add a lot. I used my favorite new tool, the white waxed pencil from the Oopsie Daisy Deluxe kit, to pick them up and place them on the page with a dab of Bookbinding Glue.

LAYOUTS 5 & 6

Jacqueline designed a sheet of 12x12 Navy cutapart frames printed with constellations in silver ink. Each frame can stand on its own or be combined with a corresponding Pearl cutapart. Who can resist jazzing them up with a few Dazzles?

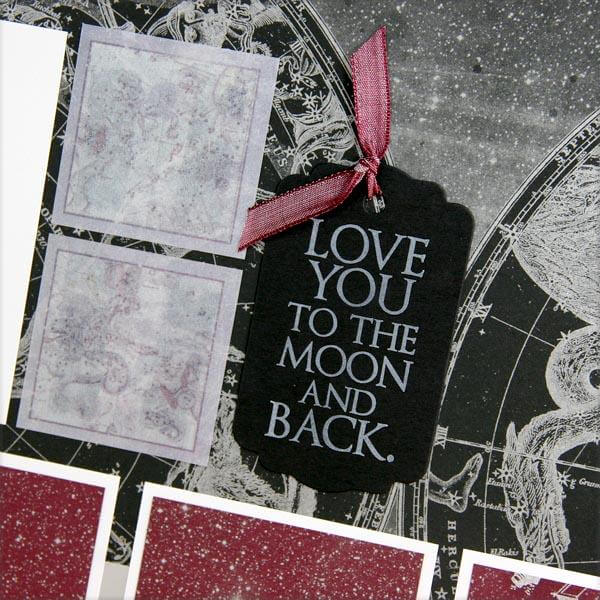
We found two sizes of die cut black tags and included them as a goodie. The smooth finish of the heavy stock is optimal for stamping or using with a white journaling pen. This one is topped with an aurora-colored rhinestone and wrapped with the soft, fuzzy grey fiber.

LAYOUTS 7 & 8

I prefer all glitter to be constrained within glue . . . unmovable. But this? How could we resist this ribbon? Our warehouse is just a bit more sparkly ever since Deb cut the ribbon into one-yard lengths. Deb is also sparkly.
LAYOUTS 9 & 10
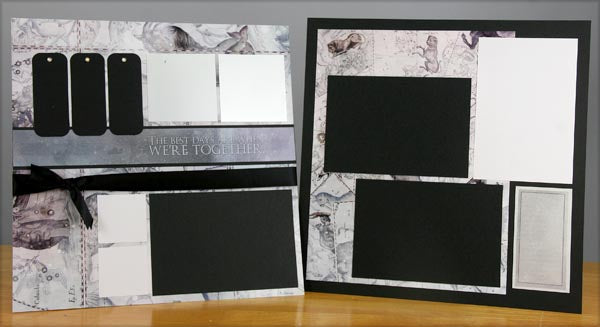
Good things come in threes. Three black die cut tags were topped with the Aurora Rhinestones and anchored by the Pearl cutapart and Black matte.

LAYOUTS 11 & 12

I confess. I did not want to do anything with the 12x12 Black Print other than put it into a frame and hang it. But, alas, it is my calling to make layouts. I like how this double-matted element anchors the left edge of the page.
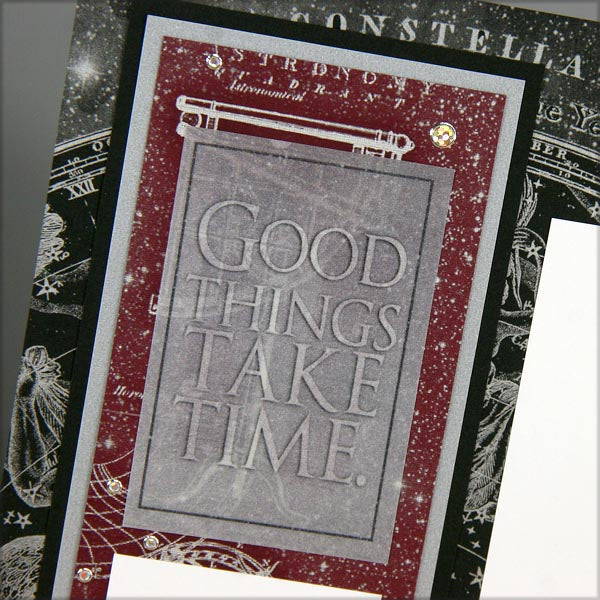
And look at the crisply stamped quote on the black die cut tag. The image came from the UM Collection.

LAYOUTS 13 & 14

There is a 6x12 sheet of a matte metallic coated paper included in your kit. It's a top-of-the-line specialty paper, and I've used it to add a bit of shine throughout the collection. I love the stuff so much, it pained me to trim it. But I figure it's better to include it rather than have it languishing unused.

Constellations Greetings to Go
I had a lot of fun assembling the Greetings to Go cards. I did it while listening to "Great Expectations" on Netflix.
SET A

The A2 cards are scored horizontally at 5.5 and 8.25" to create a "Z-fold," but they can also be scored at 5.5" only for a standard card. I liked adding the round shapes from this collection to the edge of the front flap.

SET B

Printed cutaparts make life pretty easy. Here, I simply distressed the edges of two nesting cutpart panels and attached them with the star-shaped mini brads we included in the set.

SET C

Use Sapphire, Topaz, Mahogany and Moss inks to stencil overlapping letters onto the White card panel. It is necessary to cover the unused letters while stenciling. I learn these helpful things for you in advance.

I hope you enjoyed your tour of the new collection and that you love it to the moon and back!
Tricia