
I can't wait to add photos from my recent vacation to these bright, beautiful layouts. If you follow the free assembly instructions included with the Color Me Happy Deluxe Kit, you'll make a total of fourteen pages! Let's take a closer look...
COLOR ME HAPPY DELUXE KIT
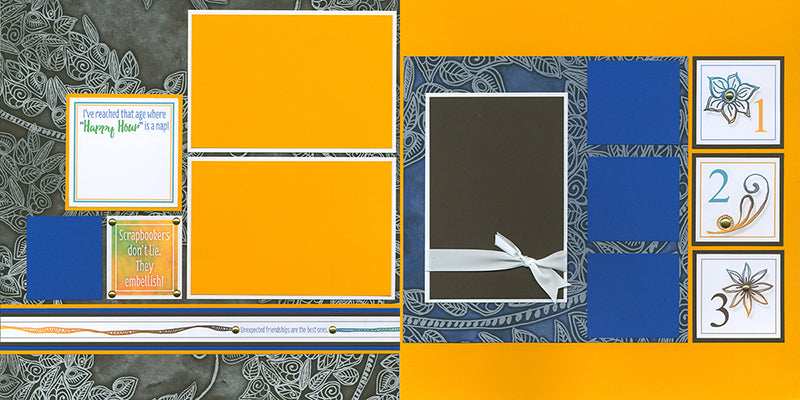
LAYOUTS 1 & 2

Use a craft knife and cutting mat to cut along the tip of the dragonfly wing. Slide the nested photo mat behind the wing.

LAYOUTS 3 & 4

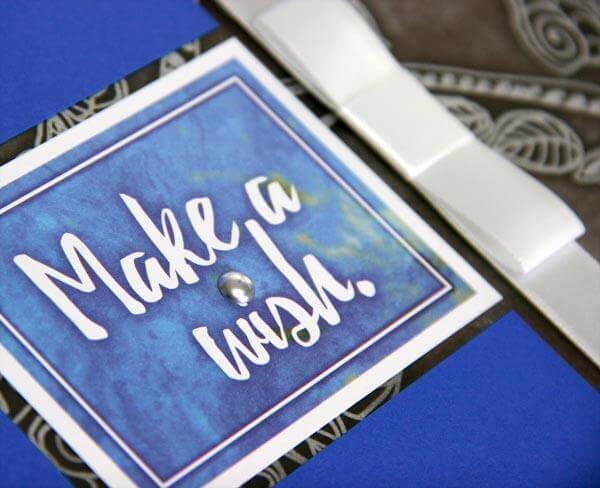
The kit comes with a fun sheet of self-adhesive Metallic Dot Stickers. They look like brads but have a lower profile and are quick and easy to apply.

Add them to the four outer corners of the White cutapart for an extra special touch.

LAYOUTS 5 & 6

Follow the metallic silver curved line on the 8.5x11 Blue Print with a craft knife and spread the two pieces onto the 12x12 Brown Plain. Slide a White cutapart beneath the two curved pieces.

LAYOUTS 7 & 8

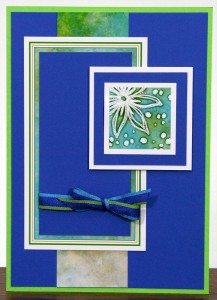
Build a miniature collage with a Brown photo mat, 4x6 White Plain, 6" Teal strip, green checked ribbon and two cutaparts.

LAYOUTS 9 & 10

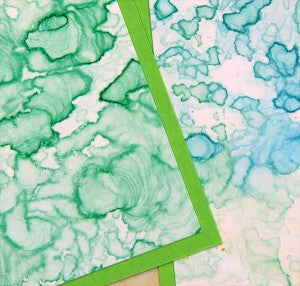
Have a ball altering the amazing sheets of Yupo paper included in your kit. It works well with watercolors, paints, alcohol inks, and more. If you're not happy with the outcome of your creative efforts, simply wash it off the paper and try again! The photo mats below were sprinkled with ColorBurst, misted with water and dabbed with a paper towel. Allow the paper to dry completely before using.
LAYOUTS 11 & 12

Alter the 12x12 White Plain with the Dragonfly Masking Stencil. Try it with our Peridot ink and a CS® Ink Applicator.

LAYOUTS 13 & 14
Accent a series of three cutaparts with gold Metallic Dot Stickers.

GREETINGS TO GO
The Greetings to Go membership continues to be one of our fastest growing clubs because of its great value and efficient assembly process. Check out this month's set of twelve happy cards!
SET A

We created two each of two different card styles with this set. One pair has an accordion style front flap with a narrow Blue panel.
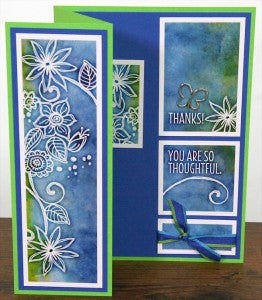
The other pair has a single fold card base. The narrow Blue panel is trimmed to nest with two cutaparts on the front of the card. (Details on how to trim the Blue panels are included in the assembly instructions.)
SET B
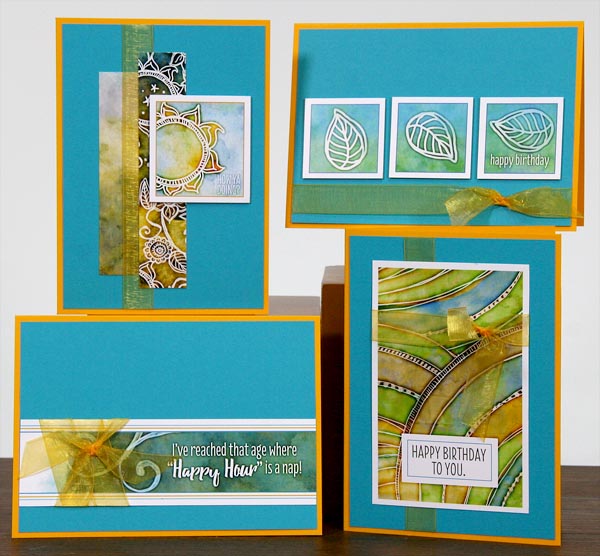
After Jaqueline has carefully arranged all of the necessary panels and greetings on the cutapart sheets, any remaining space is filled with strips of artwork that can be trimmed and added to the cards. Combine two of these artwork strips, ribbon, and a cutapart to add interest to the panel.

SET C
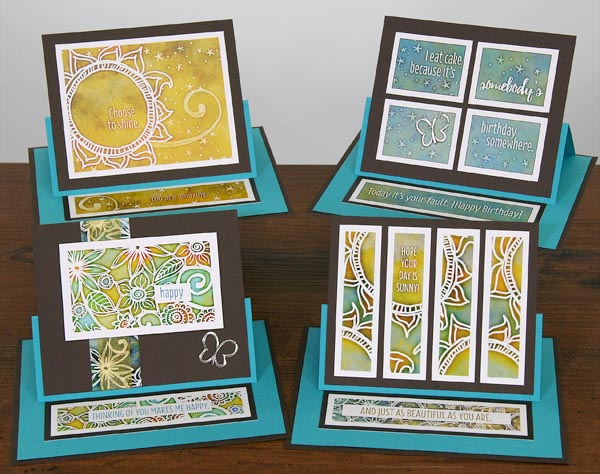
Make a set of four adorable 4.25x5.5" tent cards. The greeting on the inside of the card holds the front card panel in place.

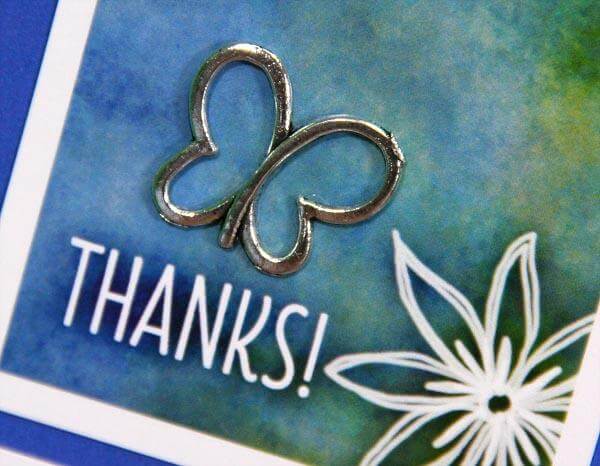
The kit also includes a set of four silver butterfly charms. The charms come with a hanging loop. If you happen to have a pair of pliers, snip off the loop and adhere the charm to the card with CS® Bookbinding Glue. (Be sure to wear protective eyewear when snipping off the loop. Sometimes it takes flight!)

We look forward to another year of inspiration layouts and cards!
Tricia