
You know what ink looks fabulous with the Cantina Rubber Stamps? Club Scrap's Neon Ink!

I've enjoyed putting together a few cards using the Neon Ink Pads with the Cantina Rubber Stamp images and this collection's bright colors.

Cantina Neon Brights
Follow these steps to achieve some fun, bright results:
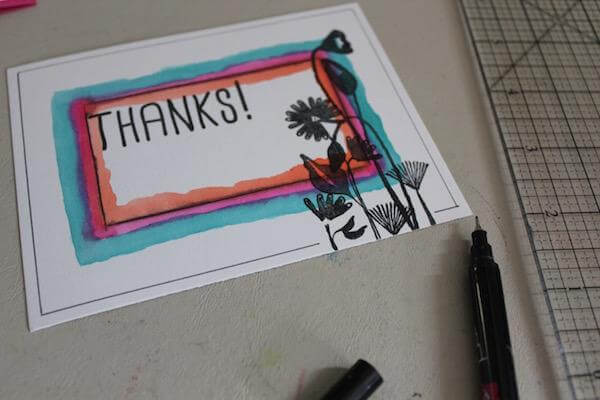
1. Dab flower row stamp from Cantina Collection UM with Neon Inks, starting with the lightest color first to avoid pad contamination.


2. Stamp onto card panel for brightest print and then again for a soft pastel look.

3. Embellish card panels.

Watercolor pencil & water brush splatter is always a good touch!

For a softer look, stamp a second time without adding more ink.

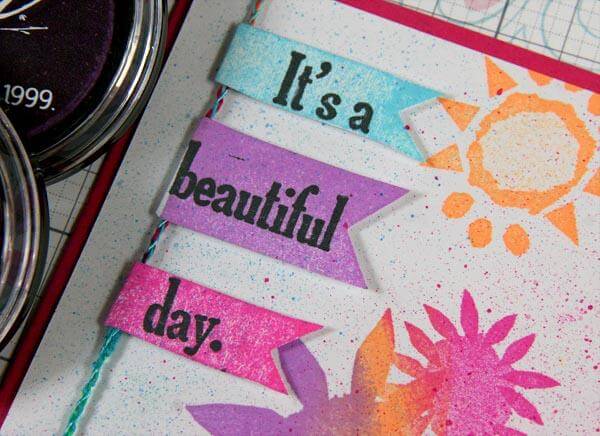
Tips for making a Neon Banner:
1. Stamp Banners from Cantina Collection UM.

2. Mask word stamp to fit the banner image, add ink, and stamp.


3. Trim out the banner leaving about 1/2" on the left edge to wrap around a string.

4. Adhere to the string with a dab of Bookbinding Glue.

5. Fasten the banners to the stamped card panel with foam adhesive.

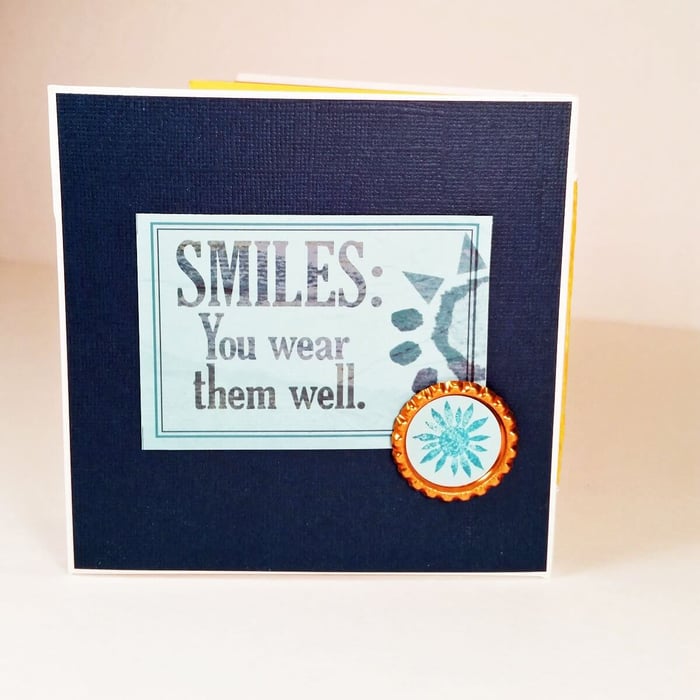
Here are more Cantina stamped cards created with Neon Stamping Inks.


I hope you will give the Neon Inks a try with the Cantina Rubber Stamps. It's sure to be an enlightening experience!
Kay