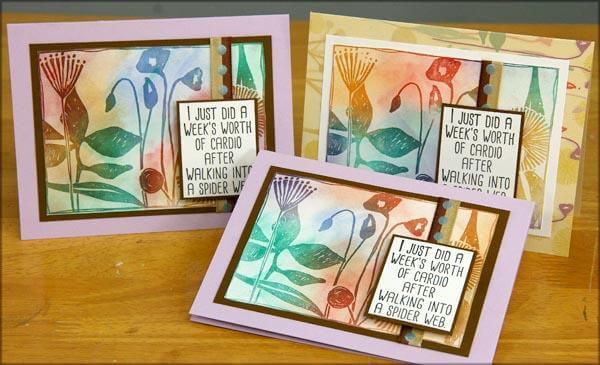
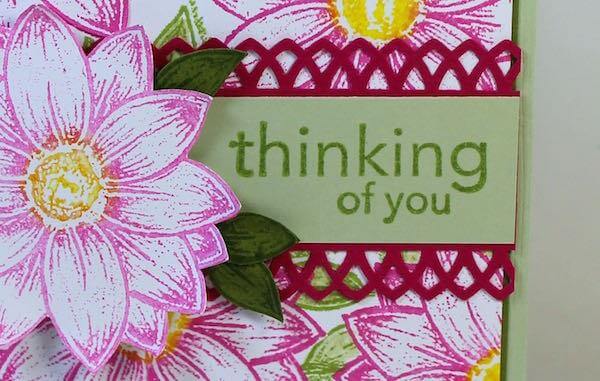
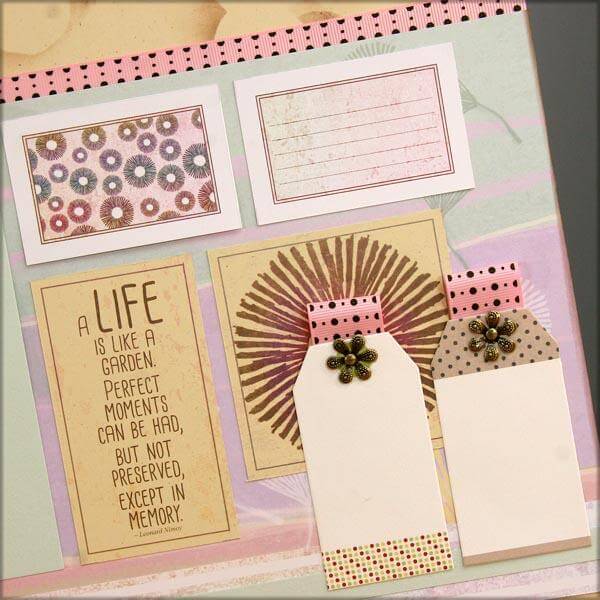
Count 'em. Fourteen fun cards made with the
Botanicals Club Stamp kit!

Let's prepare the card bases and panels for the card set by trimming and scoring the 12-pack of papers. Download the instructions, grab a 12" paper trimmer, and let's get started . . .
Botanicals Club Stamp Instructions
CARDS 1-4

This is a fun way to use
any Club Stamp "quad print." Simply trim into four 4x5" panels, and cut the stacked panels horizontally at alternating angles. It's important to keep the colors stacked in exact order during the trimming process, or you'll have a major puzzler on your hands.

Stamp any greeting within the angled strips. I used this silly two-part sentiment from the
Botanicals UM Greeting.

Add a rhinestone brad to the left edge of the stamped sentiment to draw the eye to the strip.

CARDS 5-8

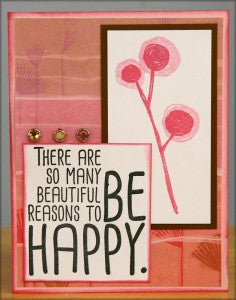
Rather than nest the sentiment onto a panel, simply ink the edges to add contrast.

The image is stamped with
Carnation ink at "full strength," and the larger circles are added with the same ink color. Simply stamp once onto scrap paper before stamping onto the image, and it will produce a perfectly matched softer tone.

CARDS 9-10

Allow the beautiful print to sing by simply stamping larger images with gold embossing powder. Be sure to stamp a bold, eye-catching greeting onto the card.

CARDS 11-13

The large collage image was stamped onto the White panel with embossing ink and colored with Pan Pastels. Chalks, watercolors or embossing powders would also look great with this image.

That quote always makes me giggle. Anchor the stamped sentiment with a length of the
dotted ribbon.


CARD 14

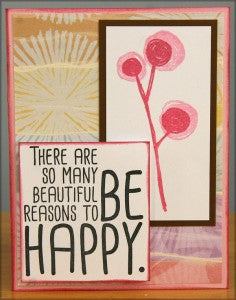
For the final card, stamp the upper half of the White panel with the flower image in
Carnation ink. Add a stem to each flower head with a gray marker.

Watch out for those spider webs, and happy cardmaking!
Tricia

 Let's prepare the card bases and panels for the card set by trimming and scoring the 12-pack of papers. Download the instructions, grab a 12" paper trimmer, and let's get started . . .
Botanicals Club Stamp Instructions
CARDS 1-4
 This is a fun way to use any Club Stamp "quad print." Simply trim into four 4x5" panels, and cut the stacked panels horizontally at alternating angles. It's important to keep the colors stacked in exact order during the trimming process, or you'll have a major puzzler on your hands.
 Stamp any greeting within the angled strips. I used this silly two-part sentiment from the Botanicals UM Greeting.
 Add a rhinestone brad to the left edge of the stamped sentiment to draw the eye to the strip.
 CARDS 5-8
 Rather than nest the sentiment onto a panel, simply ink the edges to add contrast.
 The image is stamped with Carnation ink at "full strength," and the larger circles are added with the same ink color. Simply stamp once onto scrap paper before stamping onto the image, and it will produce a perfectly matched softer tone.


 CARDS 9-10
 Allow the beautiful print to sing by simply stamping larger images with gold embossing powder. Be sure to stamp a bold, eye-catching greeting onto the card.
 CARDS 11-13
 The large collage image was stamped onto the White panel with embossing ink and colored with Pan Pastels. Chalks, watercolors or embossing powders would also look great with this image.
 That quote always makes me giggle. Anchor the stamped sentiment with a length of the dotted ribbon.

 CARD 14
 For the final card, stamp the upper half of the White panel with the flower image in Carnation ink. Add a stem to each flower head with a gray marker.
 Watch out for those spider webs, and happy cardmaking!
Tricia

