Create fourteen Beautiful Noise cards and a handy gift box with this month's card kit! Read on to learn more about each card style.
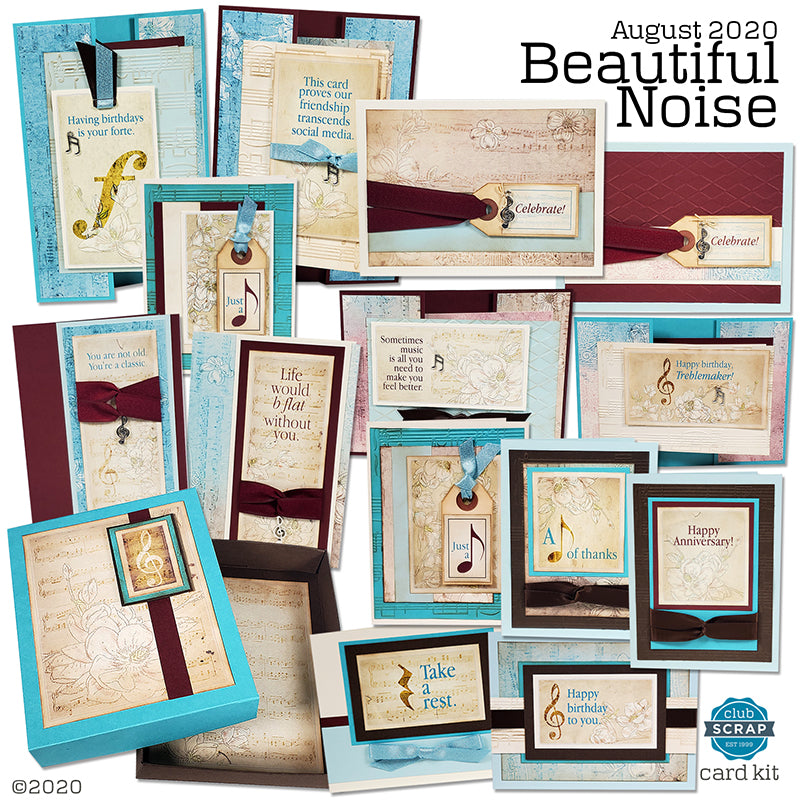
The kit includes everything needed to create the cards and box: printable instructions, video tutorial, papers, embellishments, and envelopes!
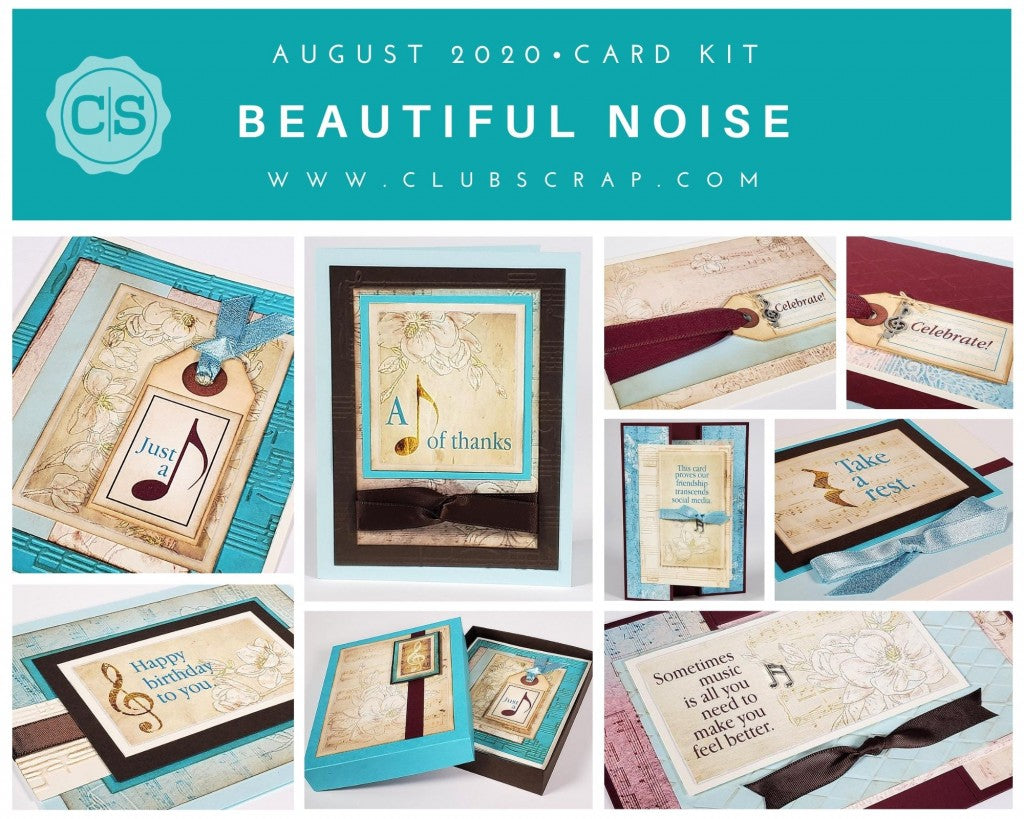
Once you've completed the cards and box, recycle the instructions and techniques to make additional cards and boxes with papers in your stash.
Beautiful Noise Cards - Set A
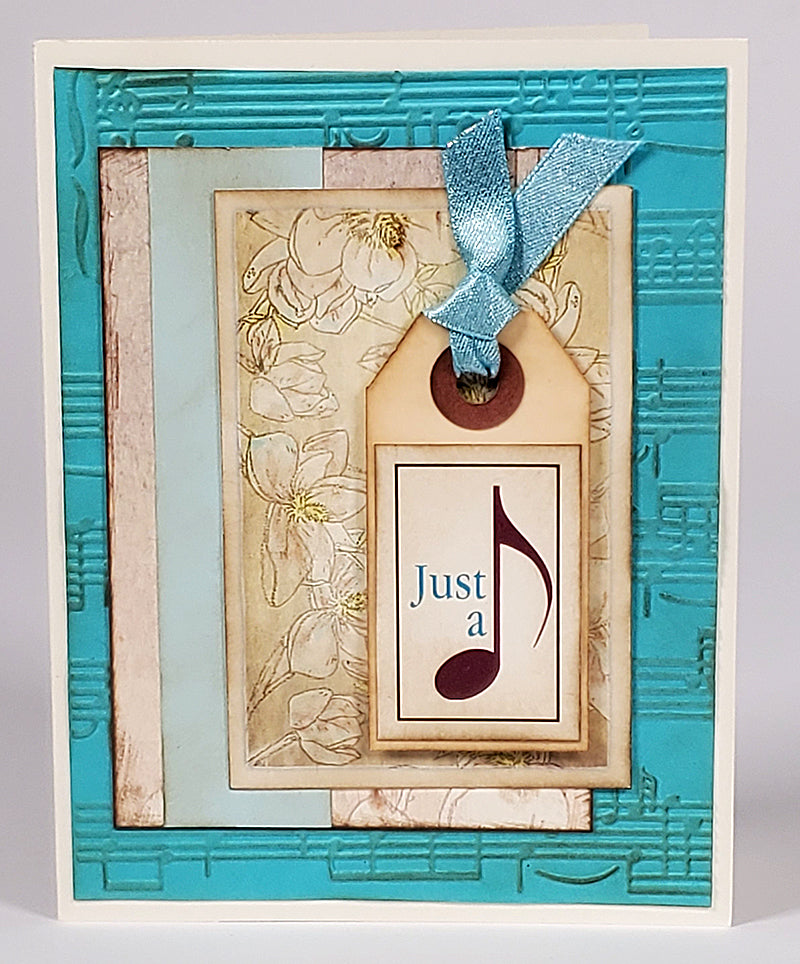
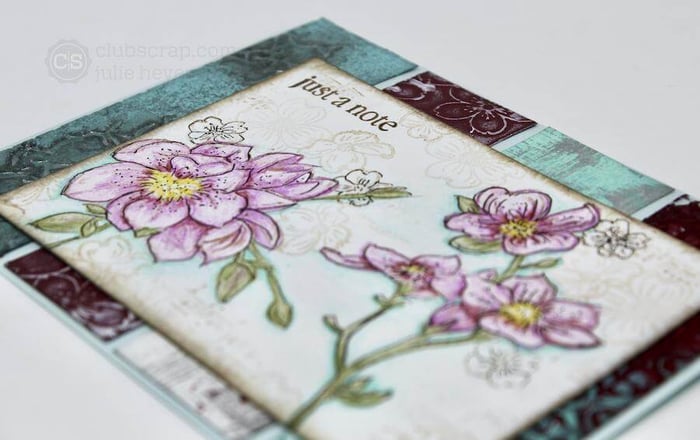
If you happen to have an embossing folder on hand, use it to add texture to the larger card panels. Highlight the texture by applying Earth ink with an ink applicator brush.

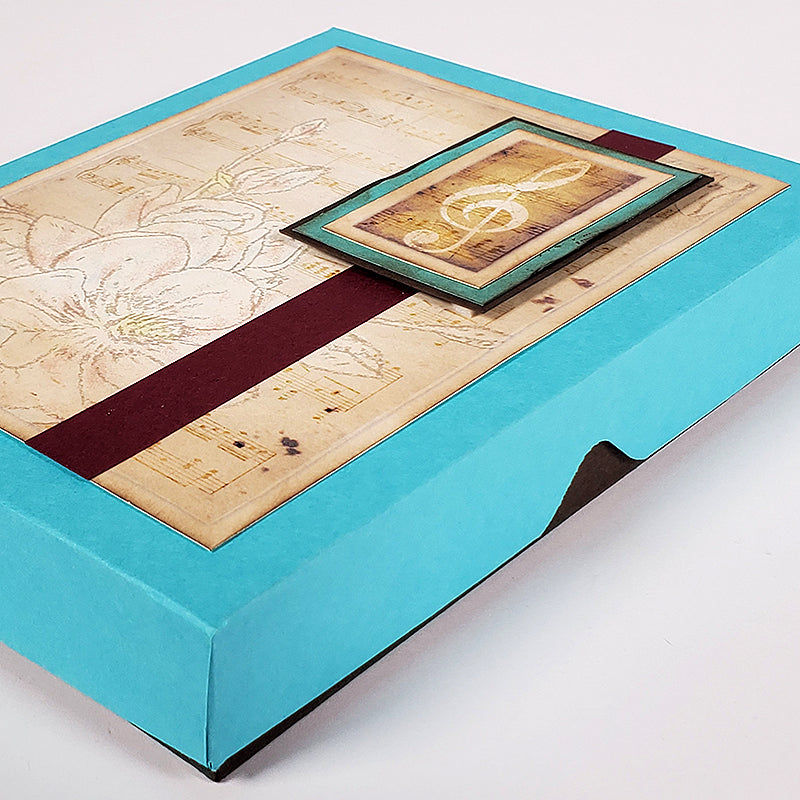
There are a total of six cards in set A. Four cards and envelopes will fit perfectly into the box. Decorate the box lid with cutapart elements and the few scraps that remain after creating the cards.
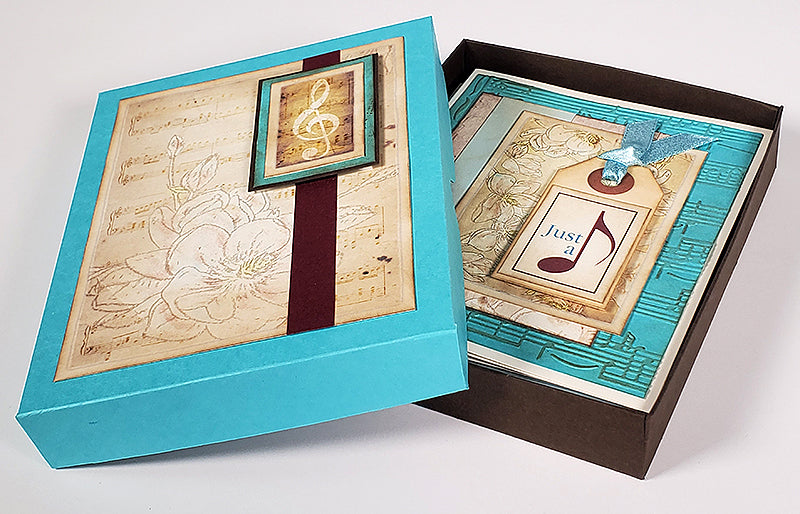
If you have an envelope punch board or 1" circle punch, create a handy thumbhole on each side of the box lid.
Beautiful Noise Cards - Set B
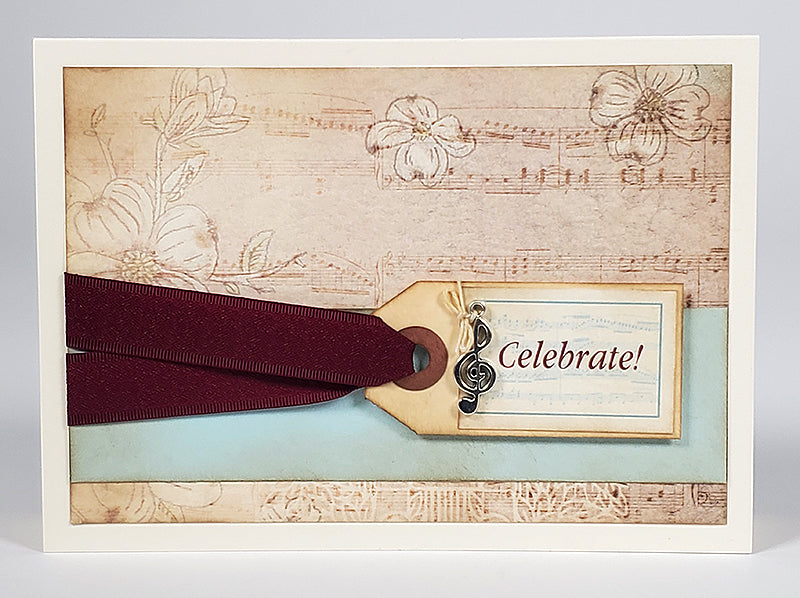
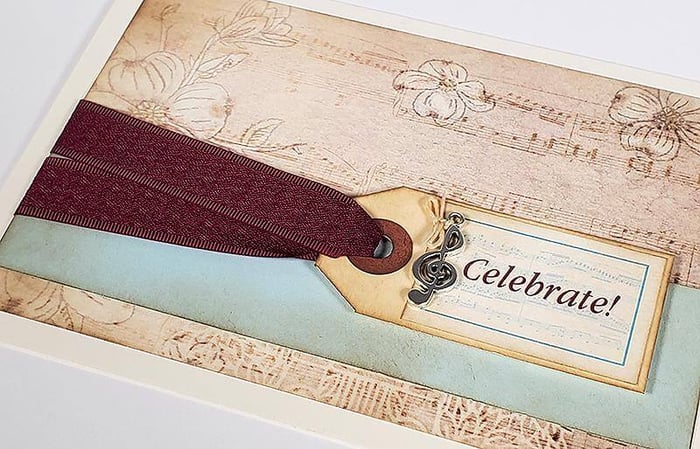
We'll make great use of the ribbons selected to match with the collection. A simple loop around the tag in the above card and the double looped bow shown below are ideal for cards you want to pop in the mail.

Beautiful Noise Cards - Set C

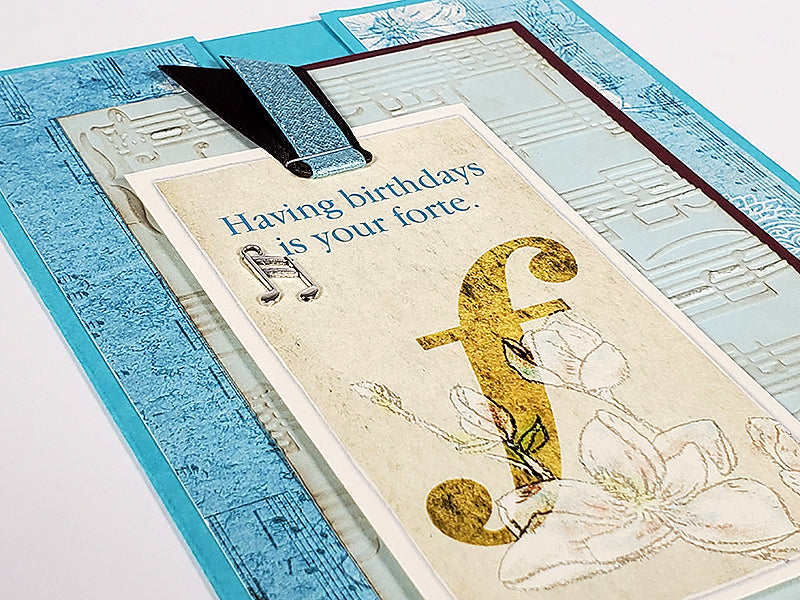
After working the numbers, I was able to figure out a creative way to trim a 12x12 sheet of paper to create two 5x7" cards. The result was one horizontal and one vertical gate fold card. Adding a panel to the left and right card flaps creates plentiful decorative real estate!
If you're new around here, I recommend viewing the extensive assembly tips in the video tutorial. And, if the video is moving too quickly, adjust the viewing speed to 75% or 50% by clicking on the gear in the lower right corner of the YouTube viewing screen. You'll find the link to the view on page one of your instructions.
I hope you have a fabulous month of card making with the Beautiful Noise collection!
Tricia
