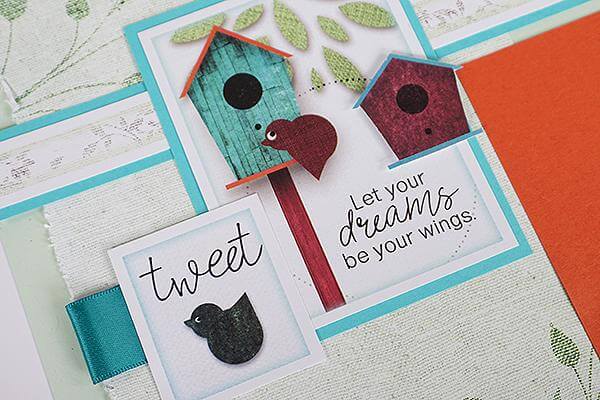

The Aviary Page Kit includes a lovely combination of bird houses, bird cages, foliage and sweet bird images. I had a wonderful assortment of artwork to pair with the embellishments and ribbons. I can't wait to complete the layouts with photos in my stash!

If you haven't had a chance to peek at what's included in the video tutorial, enjoy this quick sneak preview.
Aviary Page Kit Layouts
Read on to learn some helpful assembly details for the Aviary Page Kit. Don't forget to consult your instructions for basic paper trimming information.
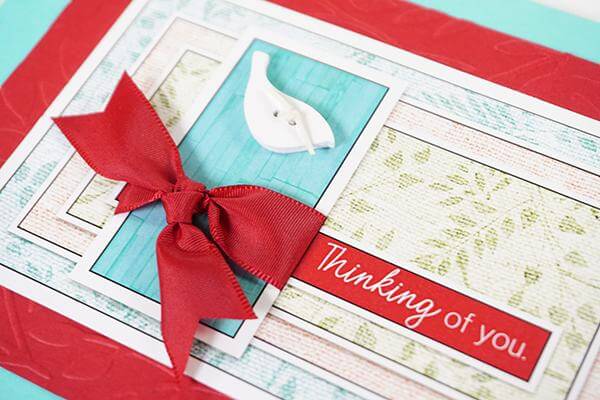
LAYOUTS 1 & 2

The vertical cutapart on the right edge of the layout has designated spot for a separate sentiment from the second cutapart sheet. Tape a loop of satin ribbon behind the word "sing," and adhere with foam adhesive circles.

LAYOUTS 3 & 4

Sharpen your craft knife skills by cutting along the outside edges of the bird cage print to accommodate the lower right corner of a Mint photo mat. I love it when a printed paper design allows me to bring an element into the foreground without adding a lot of bulk or dimension to the page. The sentiment is also slid behind the left edge of the bird cage.

LAYOUTS 5 & 6

Cut a slit on the left and right edge of the birdhouse post. Slide the red ribbon through the slits and tie in a bow.

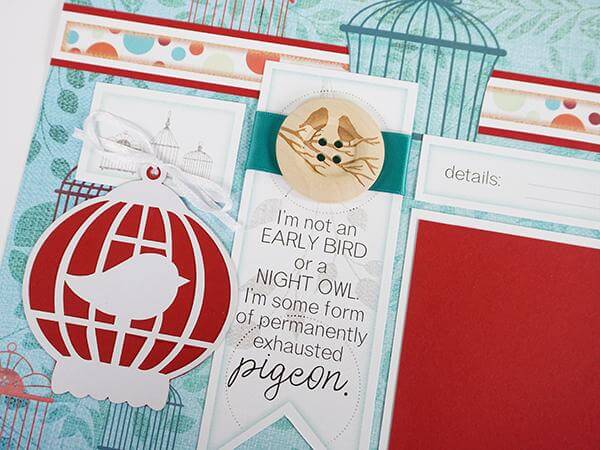
LAYOUTS 7 & 8

Place laser cut bird cages onto the 3.5x7" Red plain and trace around the outside edge with a pencil. Next, trim just inside the traced line with scissors. Adhere the laser cut to the red backing to create contrast. Punch a hole into the top of the circle on the cage and tie with thin satin ribbon. Add to the designated area of the cutapart with foam adhesive circles.

Wrap the top of the "pigeon" cutapart with satin ribbon and tape the ends on the back. Top with the large laser etched wood button. Make slits on each side of the bird cage in the upper center of the 12x12 print and thread the nested border strip behind the cage.

If you're not a current subscriber to the page kit, it's not too late! Join us today for substantial savings, or order the collection as a non-member.
Meet me right here tomorrow for more information about the Aviary Card Kit!
Tricia