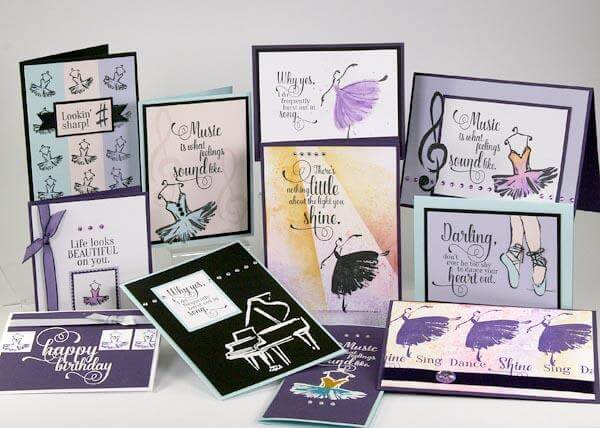

It's time to share more details about A Night at the Met!

I'm so glad I get the opportunity to dig a little bit deeper into the collection and share something special about each layout or card.
A Night at the Met Details - Deluxe Layouts
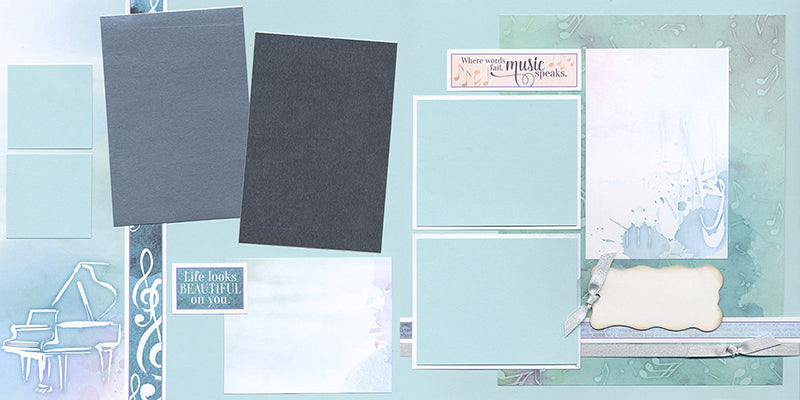
LAYOUTS 1 & 2
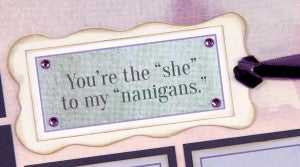
I adore this darling quote! Trim from the cutapart sheet, ink the edges with Ash ink, layer onto a white marquis tag topped with velvet ribbon, and finish with four jewel stickers.
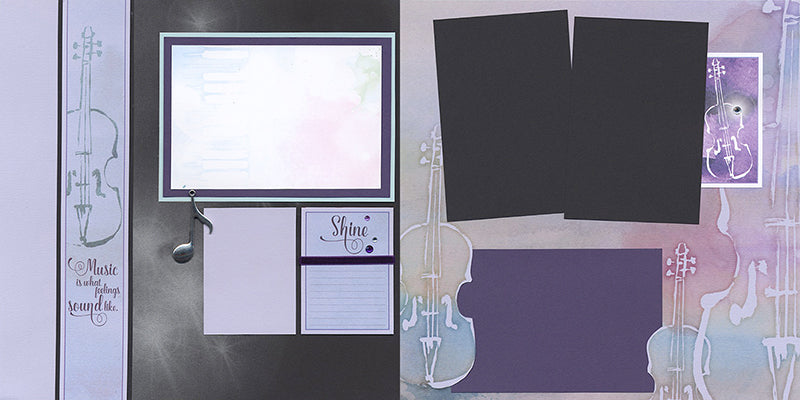
LAYOUTS 3 & 4
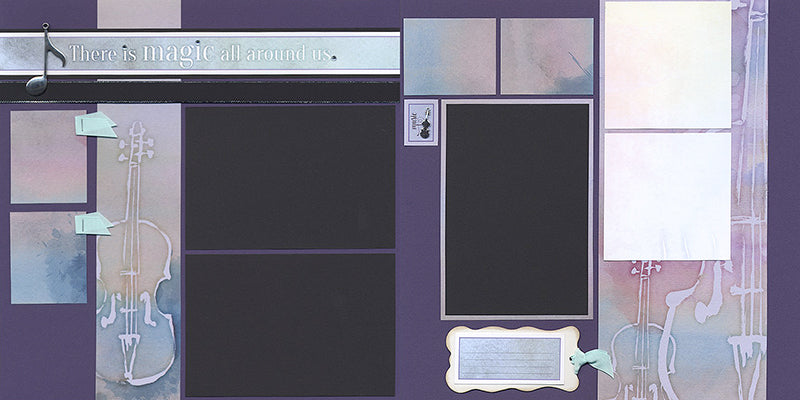
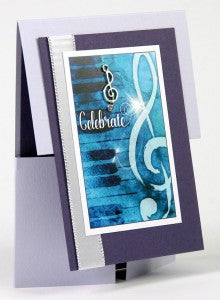
Dot each "i" in the page title with a jewel sticker, wrap black metallic edged ribbon beneath the strip, and adhere the jumbo-sized note charm to the page with CS® Bookbinding Glue.

LAYOUTS 5 & 6
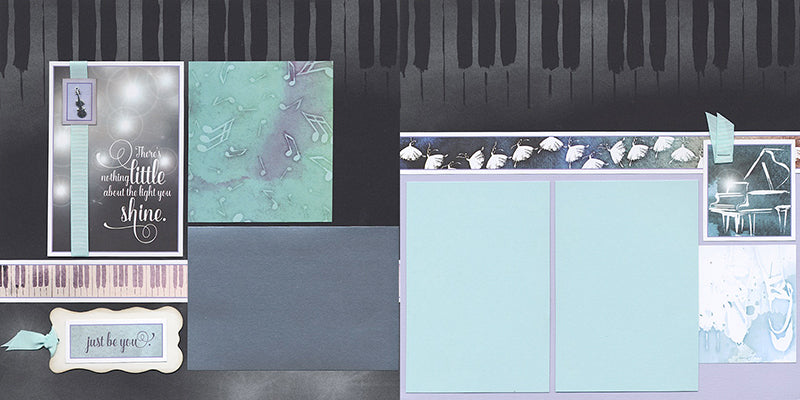
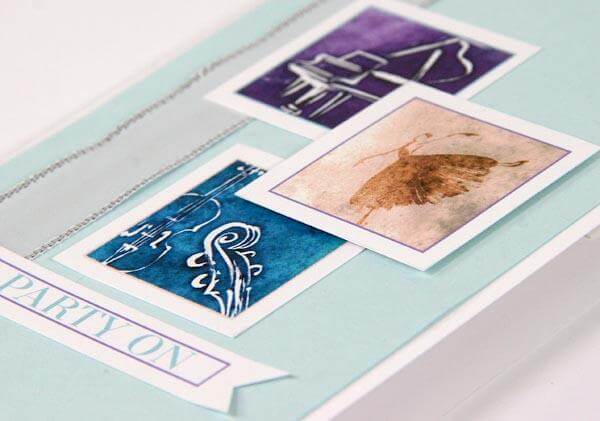
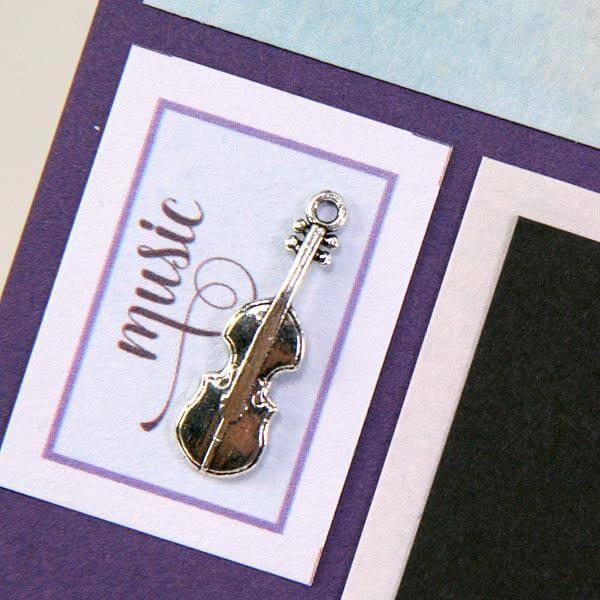
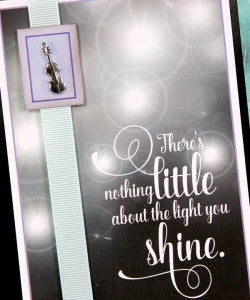
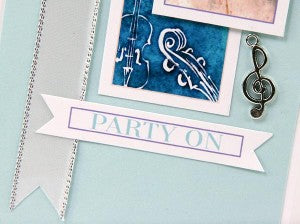
I love the "flashes" incorporated into the artwork in this collection. Wrap the flashy cutapart with aqua grosgrain ribbon, and top with a silver violin charm nested onto the Lt. Purple cutapart.
Fold a 2" piece of aqua ribbon in half and staple to the piano cutapart.

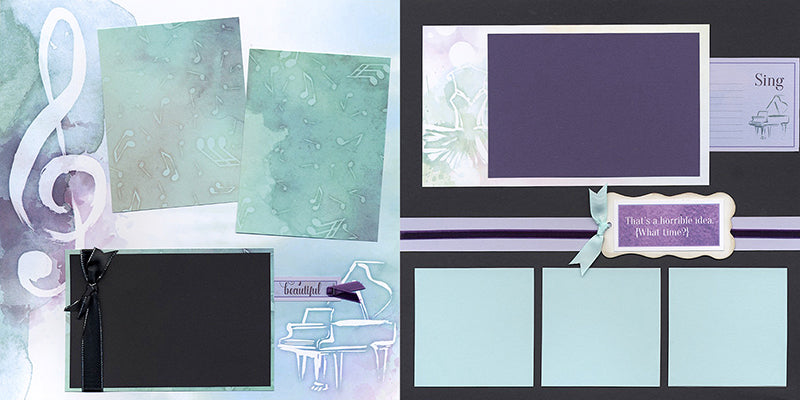
LAYOUTS 7 & 8
Ink the edge of the white marquis tag and top with metallic silver ribbon. Add a stamped sentiment, photo caption, or journaling to the tag.

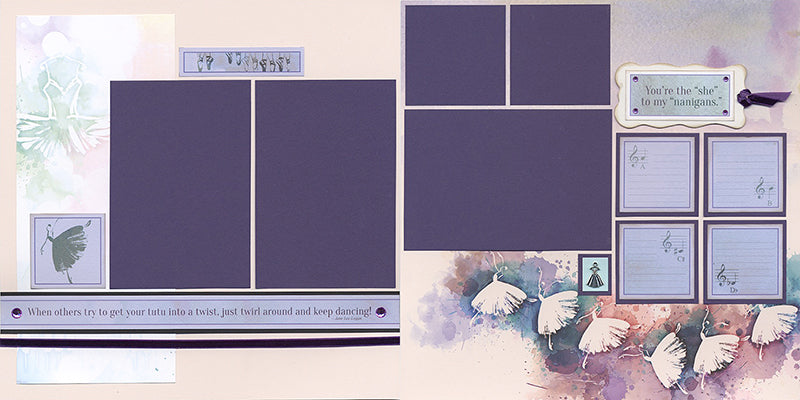
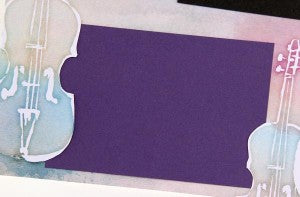
LAYOUTS 9 & 10
Keep the artwork of the Lt. Purple print in the foreground by cutting around the images with a craft knife. Tuck the 4.25x6.25 Dk. Purple photo mat beneath the slits. Secure the corners of the photo mat to the back of the layout.
LAYOUTS 11 & 12
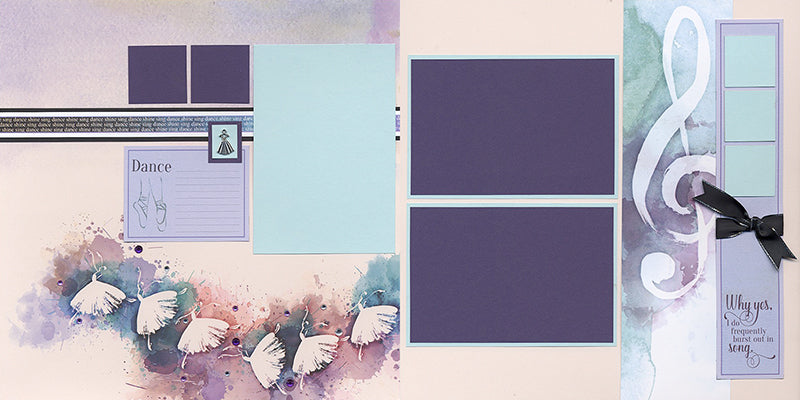
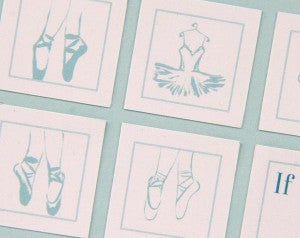
Use the artwork on the Pink print as a guide for placement of a smattering of jewel stickers to add energy to the dancers.
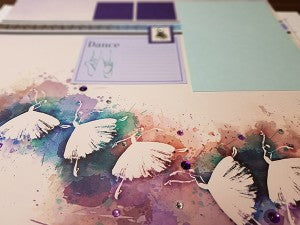
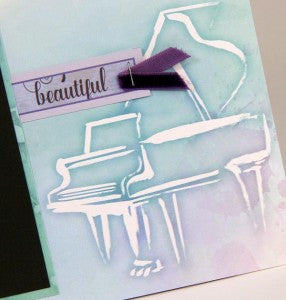
LAYOUTS 13 & 14
Staple a piece of folded velvet to the Lt. Purple "beautiful" cutapart and tuck behind the nested photo mat.
A Night at the Met Details - Greetings to Go
SET A
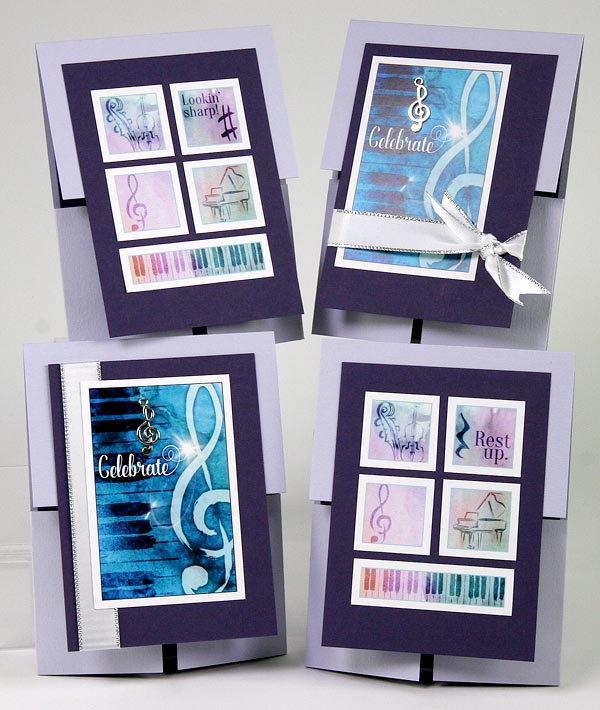
This unique Dutch gatefold card is deceptively simple to make. The card base and top flap is a single vertical piece, and the left and right folds on the bottom are created by a single horizontal piece scored twice. When adhering the Dk. Purple panel, be sure to apply adhesive to the top portion of the panel only!
SET B
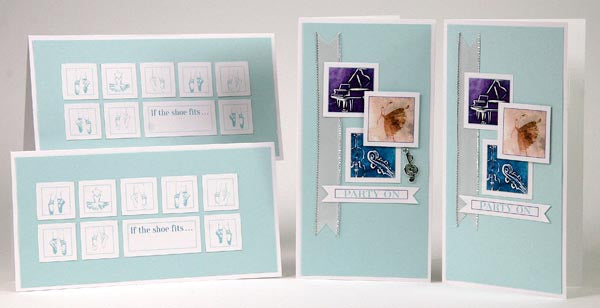
You'll notice a bit of extra space on the "party on" cutaparts. Trim a small "v" into each end with the tip of a detail scissors to create a banner look.
Use your handy 2x8" grid ruler to maintain equal spacing between each cutapart element.
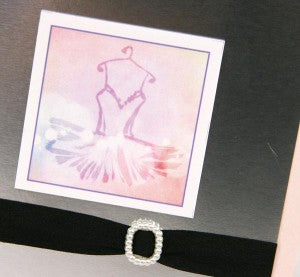
SET C
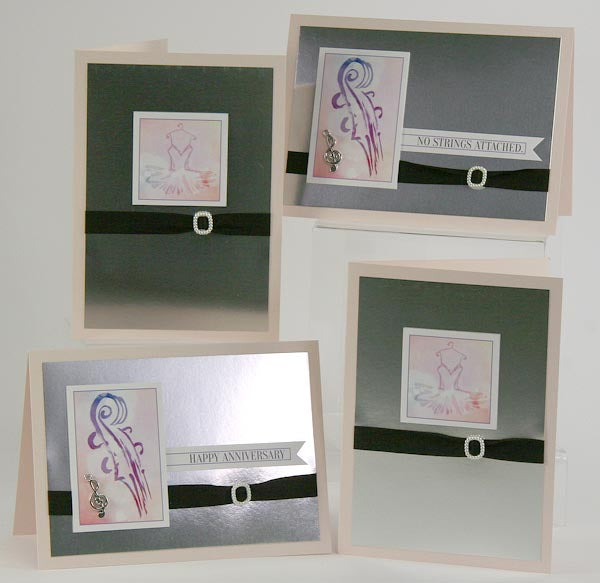
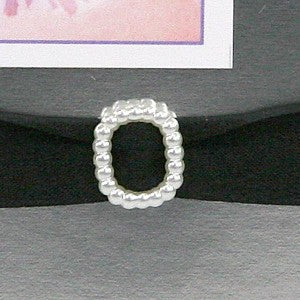
The metallic silver panels add a touch of class to the A6 cards. Thread black ribbon onto a pearl buckle and wrap around the panel for an elegant finish.
December is already off to a festive and creative start. May the sounds of the season be beautiful!
Tricia