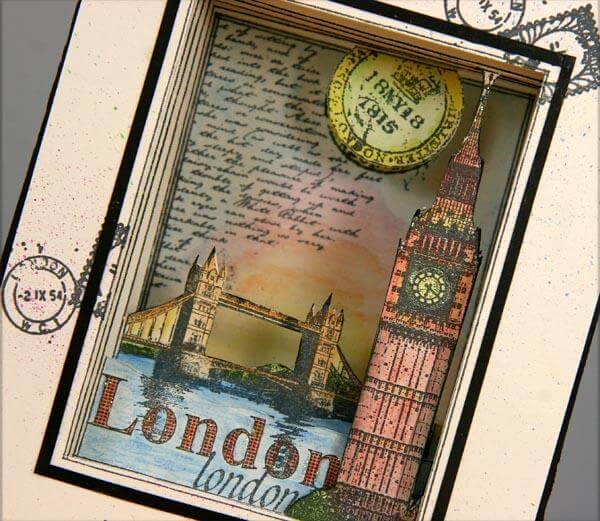
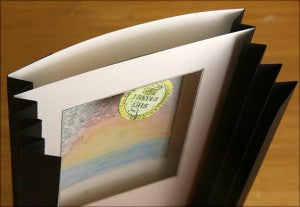
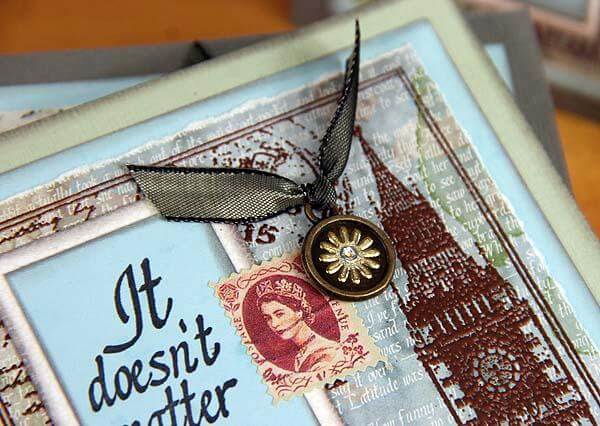
OK, so there may be a little "assembly required" on this one, but the London Calling Collection UM has the perfect collage stamp for a 3D project!


3D Tunnel Card Assembly
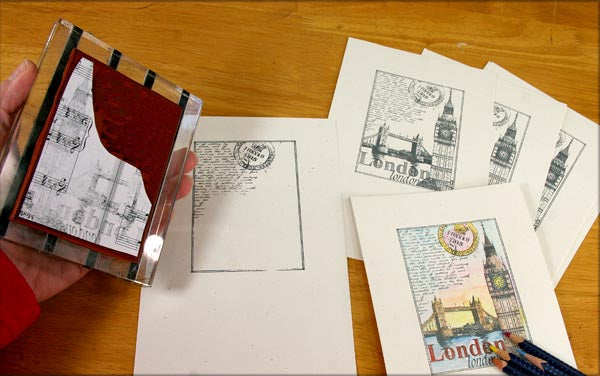
1. Trim three 8.5x11" Ivory Plains horizontally at 5.5". Stamp the collage image from the Collection UM onto each 5.5x8.5" Ivory panel with India Black ink. Stamp at least 1" from the top of the panels, centered from left to right. On the sixth panel, mask the tower and bridge. Color the images you plan to use for each layer of the tunnel with watercolor pencils and blend with a water brush.
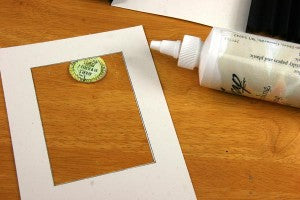
2. Cut each panel to 5x7.5" with a grid ruler and craft knife. To align each image perfectly, Cut 1" from the top, left, and right edges of the stamped frame, and 2-1/8" from the bottom edge. TIP: Cut the top and left edges with the craft knife, and trim the right and bottom edges with a trimmer to bring each panel to 5x7.5".

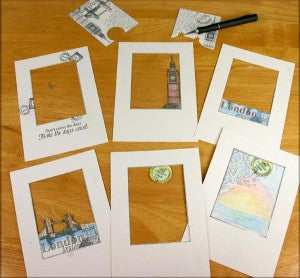
3. Choose a different image to feature on each stamped panel, and remove all other elements with a craft knife. I've selected the following six components for my panels:
Open frameBig Ben
"London" text
London Bridge
Stamp cancellation
Complete background frame with sunset coloring
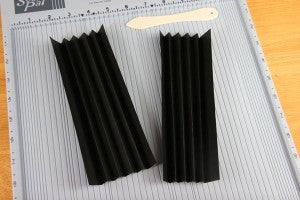
4. Cut two 5.5x7.5" Black Plain panels; score vertically at .75" and every .5" thereafter, ending with a final score .75" from the edge. Accordion fold on all score lines.
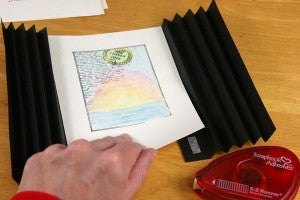
5. Adhere the 6th Ivory panel to the first valley fold of each accordion.
6. Adhere the fifth panel to the next pair of valley folds, aligning all edges.
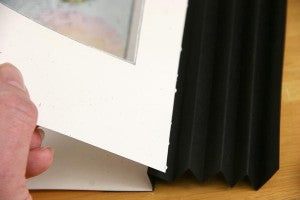
7. Attach three more panels to the valley folds in the same manner. TIP: Ensure the adhesive does not allow the front of the panel to adhere to the front of the valley fold; slide a bone folder between the layers, if necessary.


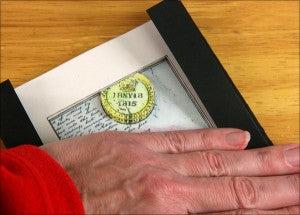
8. Adhere the first panel to the front of the accordion flaps, as shown.


The tunnel card will collapse to approximately 1/4" thick and can be mailed in a 6.5x9.5" manila envelope with a little extra postage.

I hope you will give this fun technique a try. It's worth the effort!
Wishing you a creative day!
Kay
