
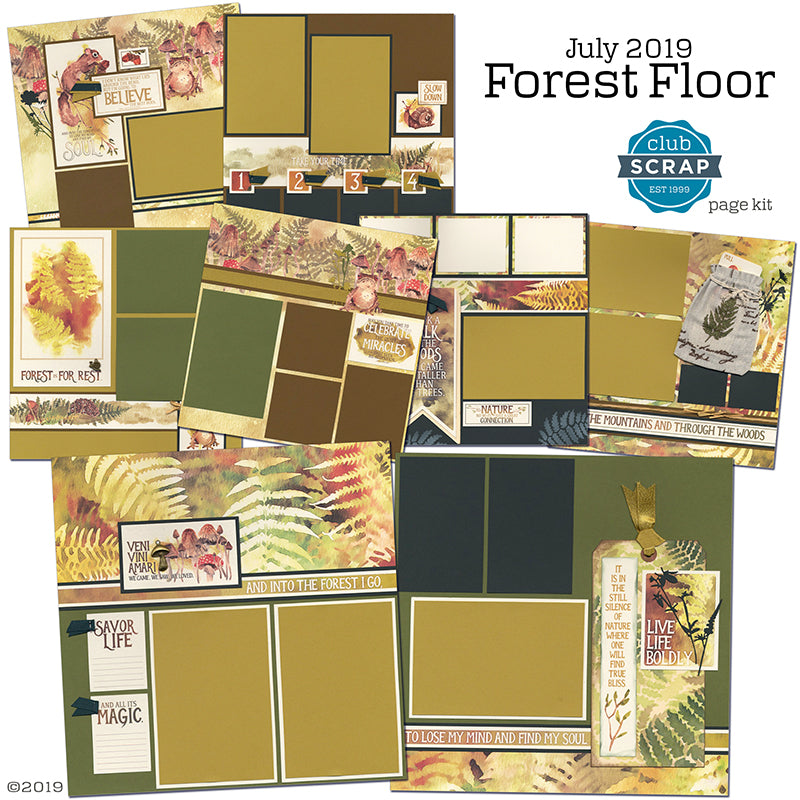
The Forest Floor Page Kit is everything an "outdoorsy" kit should be. The warm colors, artwork, and goodies will make you want to stay inside and scrap, but be sure to get out there to make some fun memories for these pages!
You'll find a beautiful and easy-to-use Fern Stencil in your kit. Grab your favorite inks and an ink applicator to make the most out of this goodie.

While the written instructions and video tutorial provide helpful tips for creating the pages, read on to take a closer look at the layouts and important highlights.
Forest Floor Page Kit
Layouts 1 & 2
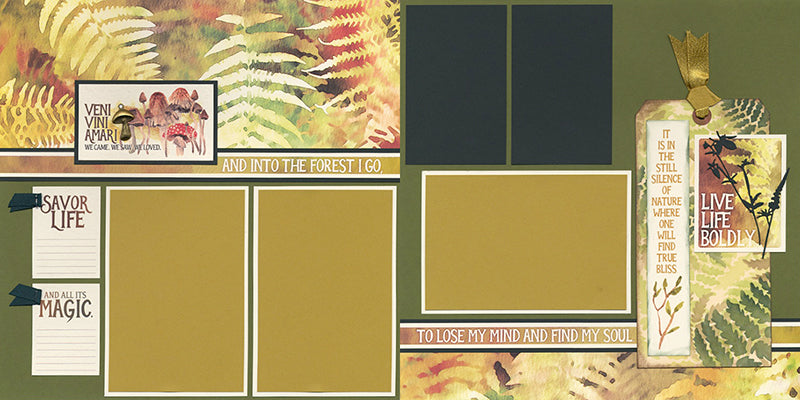
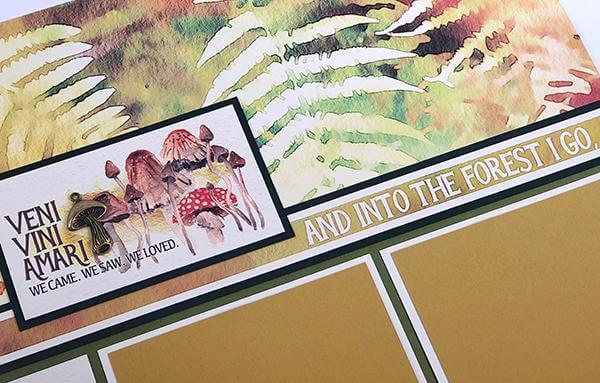
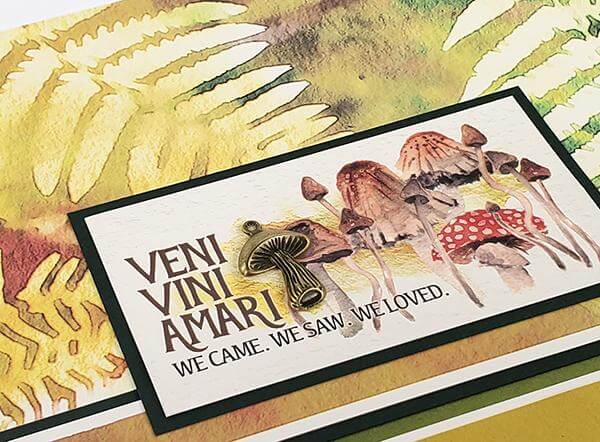
Adorn the "mushroom" cutapart with one of the bronze charms included in the kit. Charms typically come with a small hanging loop. If you don't want to leave the loop on the charm, clip it off with a pliers, or use it to your advantage by adding a little bow made with waxed linen thread.

The jumbo manila tags provide the perfect substrate for stenciling. In this case, apply Leaf, Spruce, Sandstone and Earth inks into the openings of the stencil. Top with metallic gold ribbon and cutaparts.

Layouts 3 & 4

Adhere the bronze snail charm above the word "rest" with my favorite adhesive for the job, Club Scrap's Bookbinding Glue.

I'll step this out for you in the video tutorial, but this technique is a fun way to keep printed artwork in the foreground. Use a craft knife and cutting mat to cut a slit along the left and right edges of the toad. The slit should be the same width as the border strip. Wrap the strip with metallic ribbon and slide behind the toad. Adorn with die cuts from your stash, or with the sprigs we made available this month.

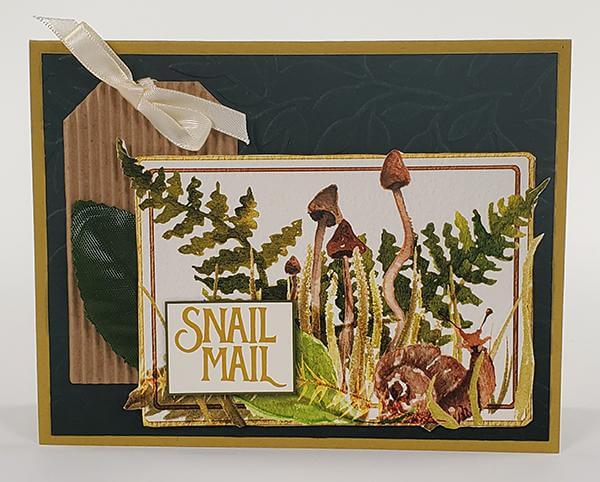
Layouts 5 & 6
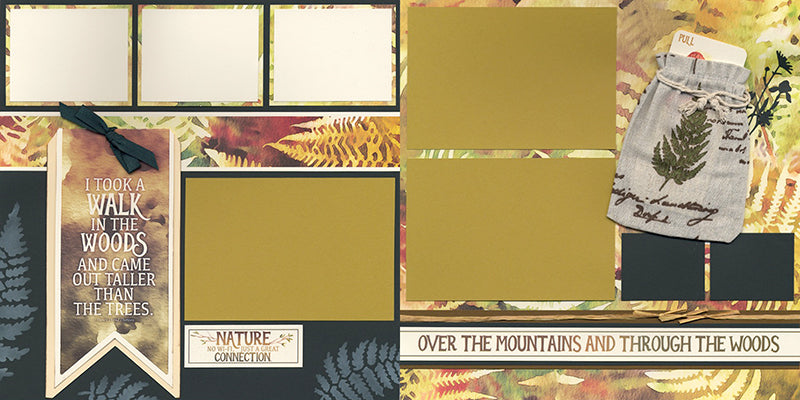
Decorate the second jumbo tag in the kit with a corresponding cutapart. Begin by cutting a "v" into the bottom of the cutapart with a ruler/craft knife or scissors. Next, layer the cutapart onto the tag, and wrap the top edge around to the back. Punch a hole at the top and tie with ribbon. Stencil the exposed Dk. Green areas of the 12x12 papers with CS® White Pigment Ink.

Round the top two corners of the cutapart with a Corner Chomper or punch. The tag features lines two write hidden journaling. Alternatively, adhere a narrow photo to either side.

Layouts 7 & 8
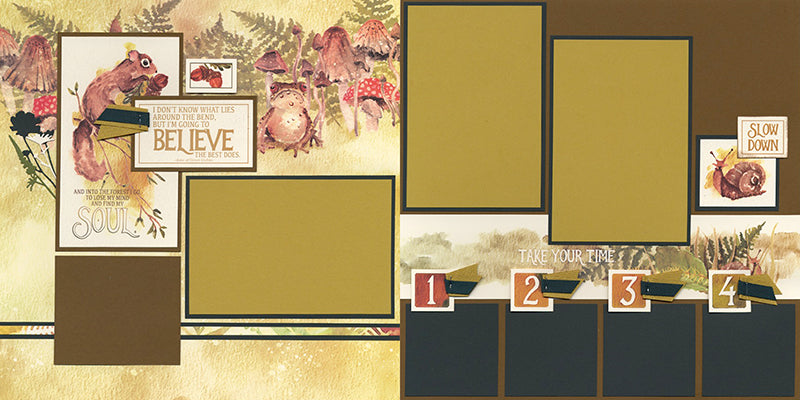
Create an attractive assembly of nested cutaparts and finish with a double thickness of folded ribbon stapled to the right edge of the primary page title.

Balance the left side of the page by stapling the nested ribbon to the right edge of each numbered square. Adhere the number with foam adhesive circles, being sure to keep the foam off of the actual photo mat.

I have a ton of gorgeous hiking photographs in my stash to add to these completed layouts. As soon as I can spare a few minutes, these Forest Floor pages will be complete!
Scrappy trails!
Tricia