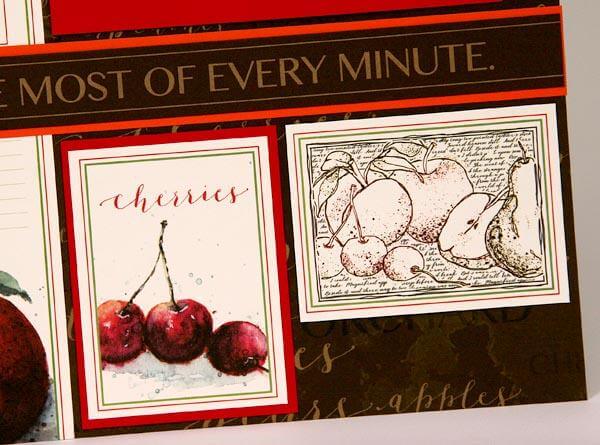
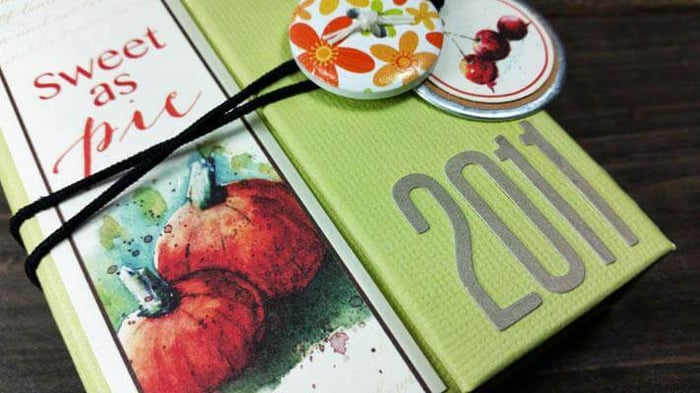
Pair the Orchard collection with the Fall Leaves stamp set featured in a technique class taught by Tricia at Retreat 2012.

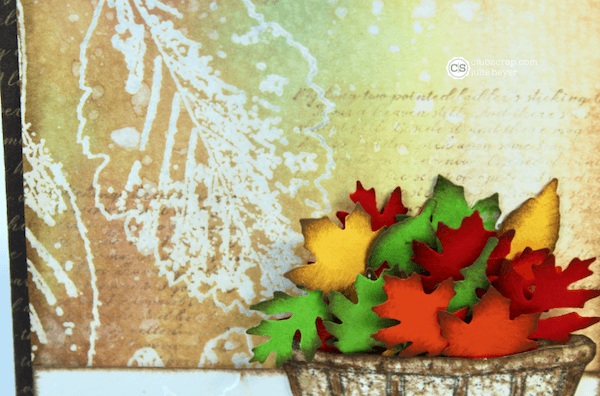
The fall leaves theme runs throughout the entire card which features die cuts, embossed panel, and embossed resist background technique.
Orchard Fall Leaves Card

Embossed Resist Tutorial
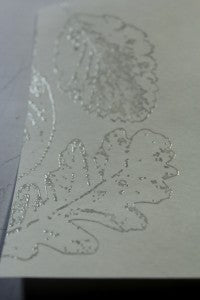
Assemble the three leaf stamps onto an acrylic block. Stamp onto 4x5.25" watercolor paper panel with Versamark Ink.

Sprinkle with clear embossing powder and heat to melt.

Rub Vintage Photo Distress and Fired Brick, Cracked Pistachio, and Fossilized Amber Distress Oxide inks onto the panel with Ink Applicators focusing on the embossed areas.
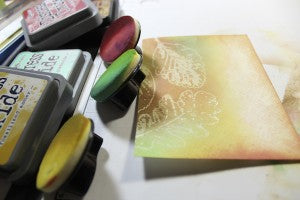
Wipe away excess ink from the embossed leaves with a soft cloth.

Stamp the cursive text from the Orchard Art Nouveau UM set on random areas of the background with Earth Ink.

Spritz the splatter image from the same UM set with water. Stamp onto the background and immediately dab off excess water with the soft cloth. The Distress Inks are designed to react with water. The result is a water mark speckle effect. Note: This stamping technique allows for more controlled placement of the water marks.


Embellishments and Assembly
Swipe Earth Ink directly from the pad onto watercolor paper.

Stamp the basket from the Orchard Jumbo UM set onto the paper with Permanent Jet Black Ink. Fussy cut and add shading with a brown colored pencil.


Cut a slit into the basket with a craft knife on a cutting mat as shown below.

Run a 1.5x4" watercolor paper panel through an embossing machine in a Sizzix border strip folder.

Nest the embossed resist background panel onto a Brown Print card base. Adhere the embossed strip and basket onto the background.

Cut a variety of fall leaves from a Sizzix decorative strip die in Orchard Orange, Green, Red and Yellow Plain papers.
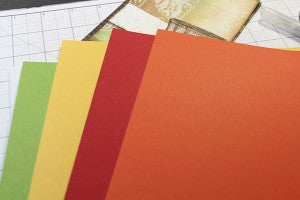

Distress the edges the fall leaves with Earth Ink.

Adhere the leaves with Bookbinding Glue in a Needle-tipped Applicator to complete the card.


Happy Fall Crafting!
 Julie
Julie
