
Sometimes you just have to drop everything and play. I had some Lakes sample papers on my desk along with the masking/pattern stencils from my Retreat workshops, and, well . . . this happened.


If you'd like to follow along with the steps to make this card and layout, here are the steps:
12x12 LAYOUT
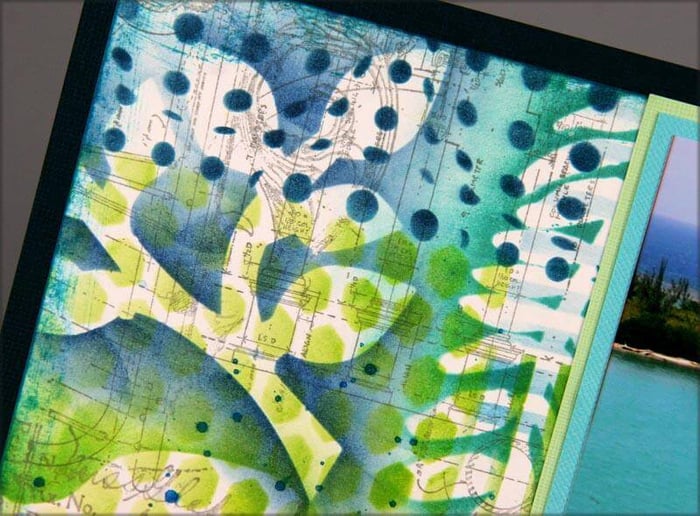
1. Have all of your blue and green ink pads and several ink applicators within reach. Stencil the three patterns onto a 12x12 sheet of white plain paper with various ink colors.

2. Place the leafy masking stencils onto the paper and sponge ink around the masks. For best results, place the inked applicator on the mask, and slide off the edge to create a smooth, even glow. Be sure to allow leaves to overlap and go off the edge of the paper.

3. Use Gelatos and a water brush with plenty of water to splatter coordinating watercolors onto the page.

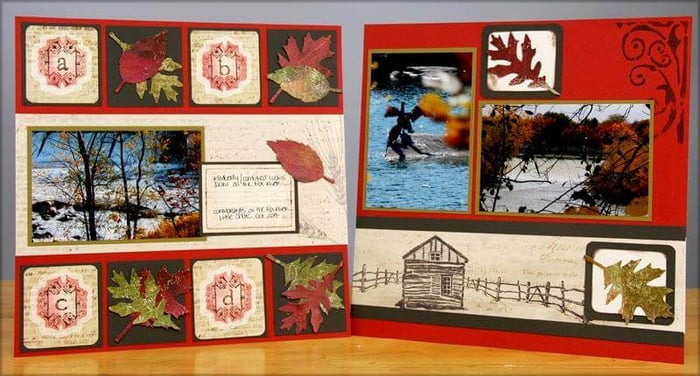
4. Trim and layer the altered paper onto a contrasting 12x12 base, and add matted photos. Finish with embellishments from your stash. TIP: Use a grid ruler to evenly space embellishments while keeping them level. (Self adhesive rhinestones from the Picnic collection.)


TIP: Attach a page title directly onto a simple landscape photo. (Alphabet "Thickers" from the Oopsie Daisy collection.)

Looking at this layout makes me want to leave Wisconsin for some warmth and sunshine, and it's only October.

QUICK CARD
1. Stencil the leaf mask onto a white panel with Leaf ink and an ink applicator. 
2. Splatter with gelatos and heat set to remove moisture.

3. Stamp a "text noise" image onto the stenciled area with Ash ink. (The Ash ink is perfect for soft backgrounds; the "text" image is from the Retreat Nice to See You Art Nouveau UM.)

4. Tear the panel to fit onto a 4.25x5.5" folded card base and matte, stamp a greeting (Irresistible UM), and tie with coordinating fiber. Add more stenciled patterns, if desired.

I had such a lovely time playing with these stencils! Be sure to pick up the three patterns and masks while they last. Here are the links to each stencil:
Large Branch Mask
Fern Mask
Small Branch Mask
Circle Pattern
Wavy Lines Pattern
Honeycomb Pattern
Happy stenciling!
Tricia