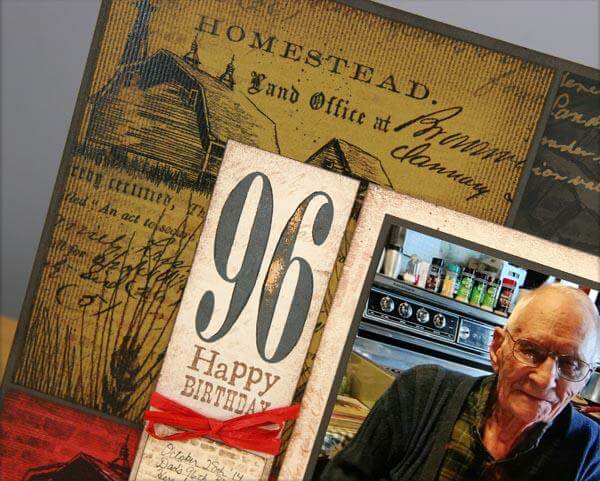
This week was special week for my family. My dear Dad turned 96! He's been through a lot and we are all very grateful to celebrate this special occasion. He was born in October of 1918, and he's still here to tell us about it. Well . . . on days when he can remember that far back! Being a retired dairy farmer, the Homestead Collection is perfect for Dad's big day.

Follow these simple steps to create the color-blocked background page:
1. Trim the Green Homestead print to 6-7/8 x 7-5/8", the Brown to 4-5/8 x 7-5/8", and the Red to 11-3/4 x 4".
2. Rub Earth Ink onto all paper edges. It adds that nice vintage look . . . to coordinate with Dad!

The ink also enhances the beautiful textures of the paper.


3. Nest the inked panels onto a 12x12 Brown Plain, leaving a 1/8" border around each piece.

4. Finish with double matted 5x7" photo and journaling box. Try these color blocking measurements with a combination of papers from any kit in your stash!
BONUS TIP: I have a thing for Club Scrap's Big & Tall stamps (the Upper Case Alpha B&T are still available for an awesome deal, by the way), so I stamped the "96" using those. For some reason, not all areas of the stamp met the paper. (It could have been my ink application, uneven stamping surface, not enough cushion, etc.) Instead of starting over, I colored the open space with a brown pencil for added aged character, also to coordinate well with Dad.

I filled in a journaling block from the Homestead Lite Ivory Cutapart and attached it to the layout with foam squares.

I've got another great page for a big life event completed, and the Homestead Kit made it so easy.
Happy 96th, Dad!
Kay