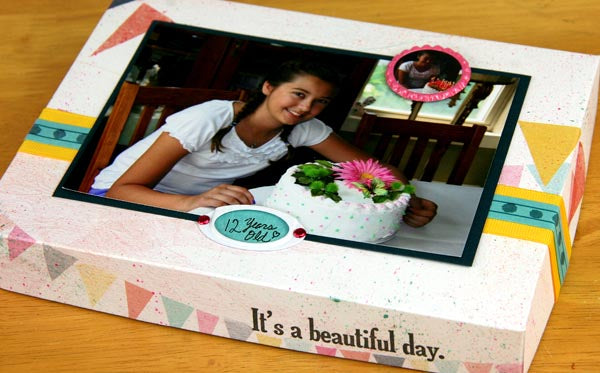
The Cantina Lite White Print was the perfect paper for this photo box project. It's decorative, provides storage and is a great way to gift a stack of photos from an event.
The 6x8" size of the box is just right for all of the photos I take that don't find a home in my scrapbooks, and it's easy to take them in and out.

Follow these steps to make the box:
1. Trim one White Print to 10 x 12" for the lid. Trim one Teal Plain to 9-7/8 x 11-7/8" for the base.
2. Score Lid and Base at 7/8" and 2" from each outside edge.


3. On short ends of both Lid and Base, cut narrow darts to remove the score line up to where the second set of score lines intersect.


4. Fold inward on all score lines of Lid and Base and burnish creases with a bone folder.

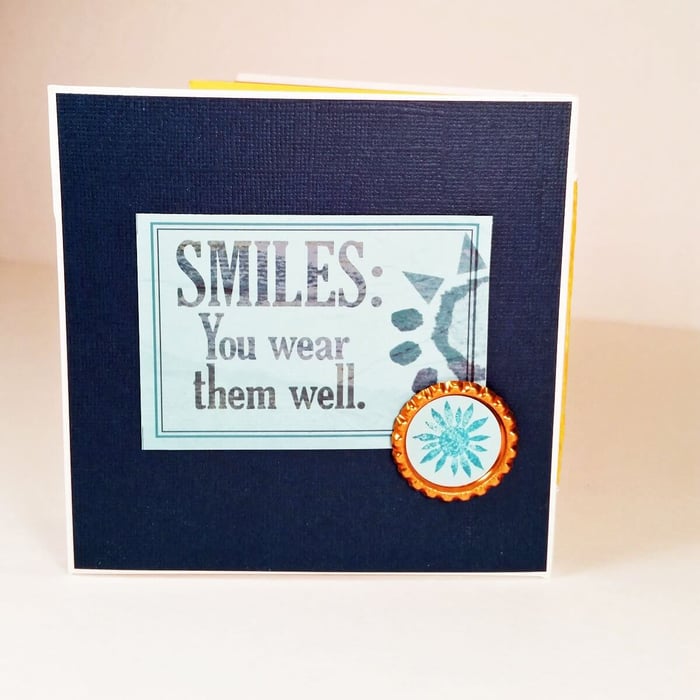
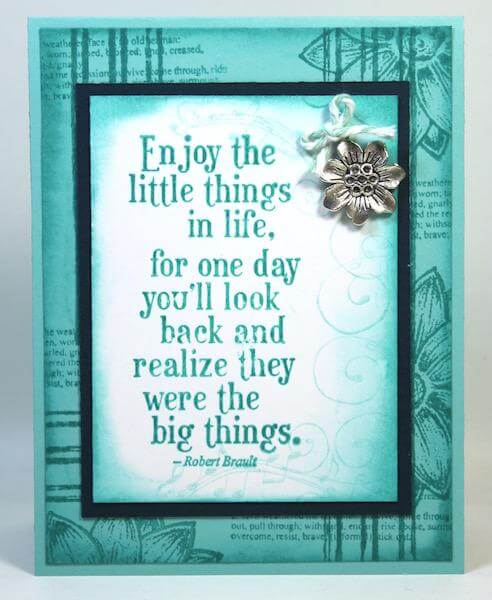
5. If you'd like to rubber stamp on the lid, now would be the time. (Phew, I almost forgot!)

6. Add adhesive between folds.

7. Fold the long flaps in first.

8. Turn in the tabs at a 90-degree angle to form the corner. Fold short flaps up and over the tabs to finish the lid.


9. Repeat for the box base.

10. Add a 5.75x7.75" panel to the inside of the Base.


11. Decorate the Lid with Cantina Flattened Bottle Caps, Fibers and Cutaparts.
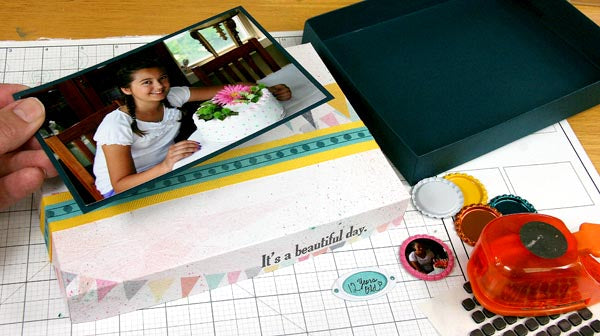

12. Fill with photos.

Enjoy!
I hope you can jump into your Cantina Lite Kit soon. Click HERE for more info on the Club Scrap Lite Membership.
Kay