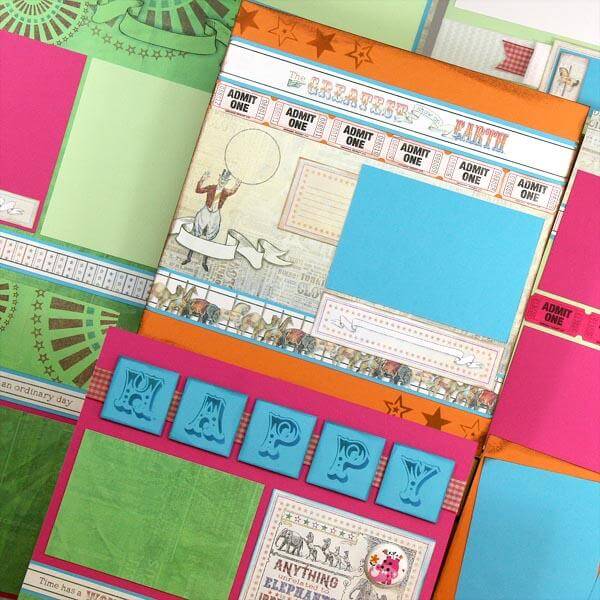
After seeing Tricia's adorable Big Top pages and the Lite Stencil used on layouts #2, 3 and 6 in yesterday's blog, I thought it would be fun to use it on a colorful greeting card.
1. Cut a 4.75x6.75" White panel. Stencil the center of each star across the top of the horizontal panel with a CS Foam Applicator and Topaz Ink.

2. Keeping the stencil in place, add the outside edges of the stars with Tangerine ink.

3. Shift the stencil to complete a full row of stars across the panel.

4. Clean stencil and center the word "happy" beneath the stars. TIP: Use blue painters tape to mask out other areas of the stencil to prevent inking accidents and to hold stencil and panel in place.

5. Stencil the first half of the first letter with Orchid ink.

6. Add Fushsia, Lagoon, and Leaf inks in a repeating pattern until the word is complete. Blend one color into the next for full ink coverage between colors.

(Oooooh, lifting the stencil is the best part!)

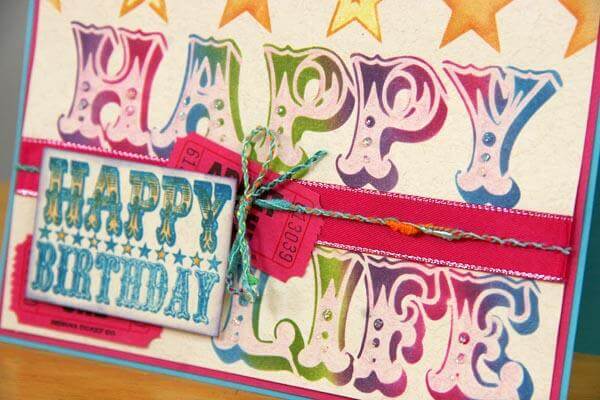
7. Stencil the word "life" on the bottom of the panel in the ink colors of your choice, leaving room between the words for a ribbon embellishment.

8. Fill in the stars and words with watercolor pencils to add even more color to the panel.


9. Nest the panel onto a matte and card base. Finish card off by embellishing with ribbon, fiber, Big Top Tickets and a 1.75x2.5" Happy Birthday sentiment.

Wishing you and yours a Happy Life!
Kay