I don't know about you, but I have a lot of stamps. I've been challenging myself lately to use multiple stamps from different kits on my projects. That led to scene building!

Sometimes I'm intimidated by the size of an art journal page or scrapbook layout--that can be a lot of white space to fill! Smaller card panel "canvases" can be a little less daunting.
When building a scene, create the illusion of depth with masking. Masking is one of those basic stamping techniques that will make you feel like an artist! Plus, it’s really easy to do. Layer stamped die cuts for added dimension, fussy cut a paper mask, apply liquid frisket or rubber cement over images, heat emboss resist, etc.
Here are a few masking technique tutorials to get you started:
https://www.youtube.com/watch?v=XA3-unFFK-4
https://www.youtube.com/watch?v=FEtJKDbZTcU
MAKE A SCENE WITH ADOBE STAMPS
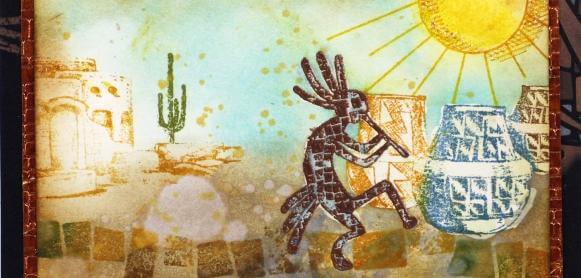
Start out by choosing some stamps to create your scene. I chose the
Adobe collection (September 2010). It has nice background images, as well as some larger images for the foreground.
Test your design on scratch paper first. Stamp the kokopelli in the foreground to create a focal image.

Apply a coat of rubber cement over the image with a paint brush and let it dry.

Create the background by stamping the adobe jars just overlapping the focal image (so it looks like it's behind it). Apply a coat of rubber cement to the jars too, let dry. Stamp the mosaic border over the jars to look like a road. TIP: Using a stamp positioner helps with this part of the design.
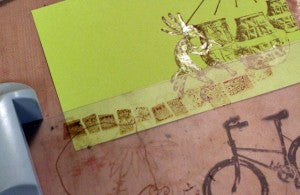
Add the adobe building with the cactus for a background. (The image is smaller so it looks like it is in the distance.) After stamping the sun image (
Reunion kit, December 2014), use your finger to remove the rubber cement from the images. Piece of cake!

Now that the "test" image is complete, repeat the above steps on cream card stock, stamping images in assorted colors. Add background color with Distress inks, water splatter, etc. Finally, add shadows with a touch of black watercolor. The mini scene is complete!

Finish the card by stamping a coordinating sentiment inside.

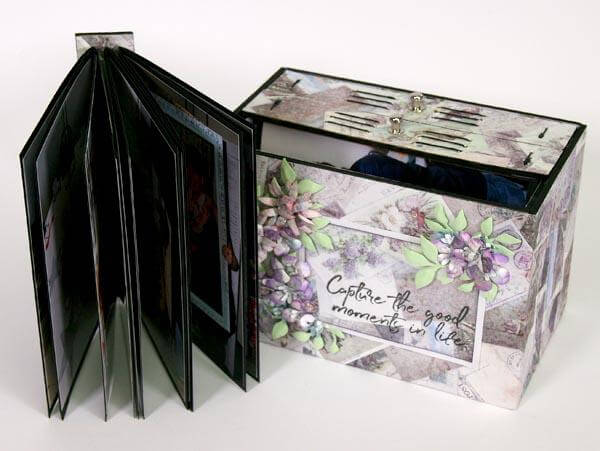
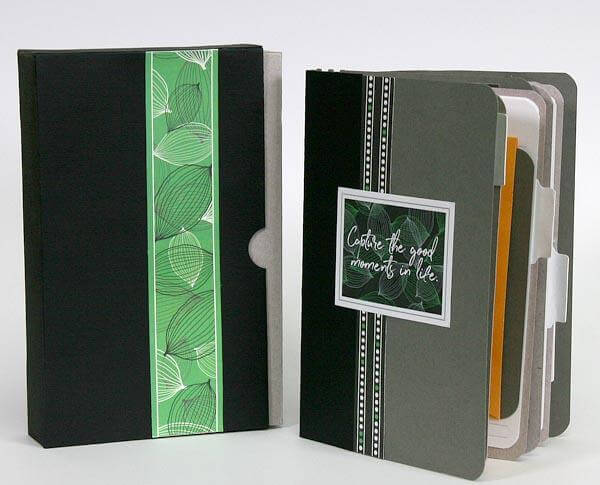
Here are some other examples of "scenic" stamping:


Now it's your turn! I challenge you to build a scene using Club Scrap stamps using any of the techniques shared above. Digital creations are encouraged, too! Get creative, build a scene and link up for a chance to win a Club Scrap gift certificate!

Wendy's blog:
https://wendybellino.co/
MAKE A SCENE LINKY PARTY
SaveSave