I always marvel at what can be accomplished with a Club Stamp collection, and this month is no exception. Create one double-sided folio and a dozen cards with March's
Delft kit, shipping today!

Twelve cards.

Folio with band closure.

Inside of folio with two angled pockets.
To begin, gather
Delft Club Stamp kit, a paper trimmer, ScorPal and bone folder ready, and download the instructions by clicking on the link.
Delft Club Stamp Instructions
Once the papers have been trimmed and scored, consult the images below for stamping and assembly tips.
CARDS 1 & 2
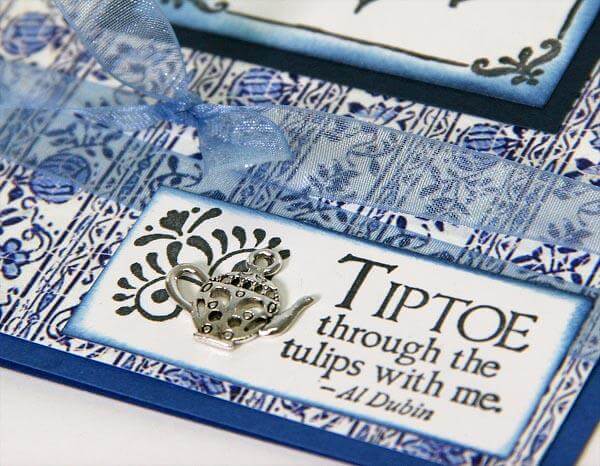
Stamp the Dk. Blue card base with White Pigment ink and round the corners of the cards and panels. Stamp and wrap with ribbon. Glue the
teapot charm to the panel near the knot of the ribbon. (Place a 2.75x4.25" White panel onto the inside of each card.)

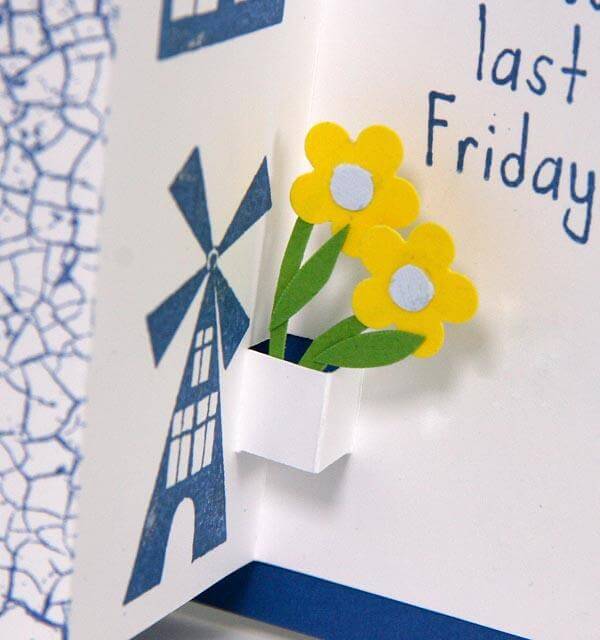
Stamp the windmill with
Sapphire ink onto a piece of scrap paper and stamp again within the frame to create a softer shade of blue. Stamp the quote onto the image with India Black ink.

CARDS 3 & 4
Color the windows on the windmill and house with an opaque yellow marker. (The "kindness" sentiment on the front of the Yellow card is stamped from the
Delft UM
Greeting sheet.)

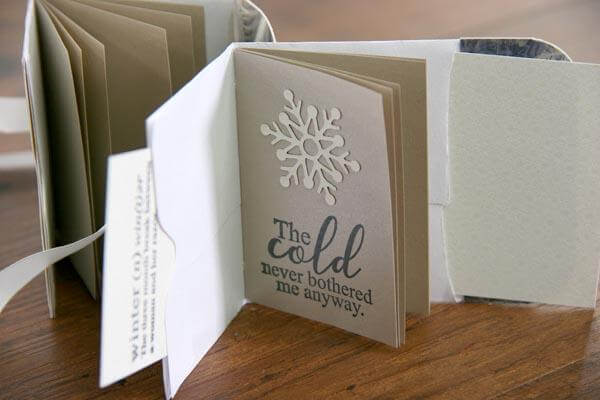
CARDS 5 & 6
Make a highly dimensional card from just one folded sheet of 5.5x8.5" paper. Stamp the sentiment with Sapphire ink, mask the stamped area, and fill in the rest of the card with the cracked tile and porcelain "crazing" image. Sponge the outside edges of the mask and card with ink and remove the mask.

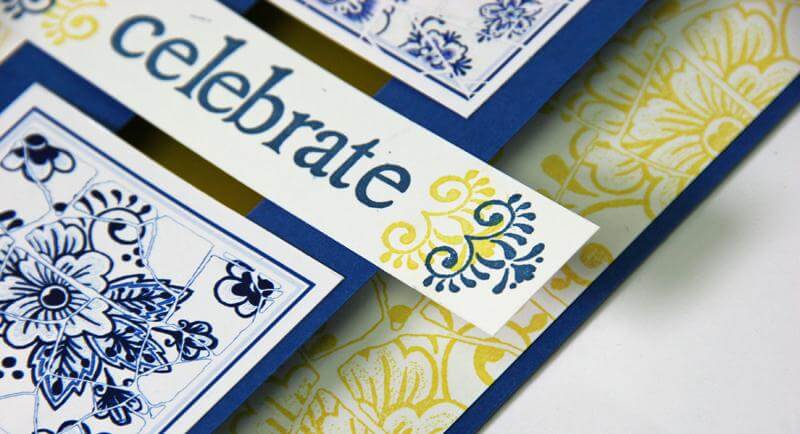
CARDS 7 & 8
Cut the 1x2.5" strip of Dk. Blue paper in half and adhere to the panel on the Yellow card to create an anchoring band for the stamped quote. Hide the gap between the two pieces behind the square. (Shh! Nobody will ever know!)

CARDS 9-12
There are numerous ways to turn a doily into a dress, but I thought this style was absolutely perfect for the collection.

Search YouTube for all sorts of fun tutorials. Here is a basic rundown of how I made my version of the dress:
- Fold the paper lace mat "almost" in half.
- Fold "almost" in half again to create four unequal quadrants.
- Open and cut along the fold lines. Arrange the pieces from smallest to largest.
- Cut the largest piece in half. The left half will be used as the bodice of the dress.
- Place the right half of the largest piece on your work surface. Adhere the three remaining layers onto the base piece, aligning edges. Cut off the tip of the triangle to create the waistline and attach the bodice.
- Trim ribbon slightly larger than the waistline.
- Fold ribbon lengthwise and tape ends to the back and layer the dress onto the card.

CARD FOLIO
Details on how to assemble the folio are in the instruction download. This folio was adapted from my
original version constructed with 12" papers. I was thrilled to be able to modify it to accommodate 8.5x11" papers included with your
Club Stamp kit.
To create a decorative element for the folio, trim a 2" square from the triangular scrap of the Lt. Blue Print. Stamp with a tulip image and ink edges with Sapphire ink. Adhere to the center of the belly band and slide onto the folio.

Wow! There are a lot of fun things happening with the
Delft Club Stamp collection. I hope you've learned something new this month!
Tricia