
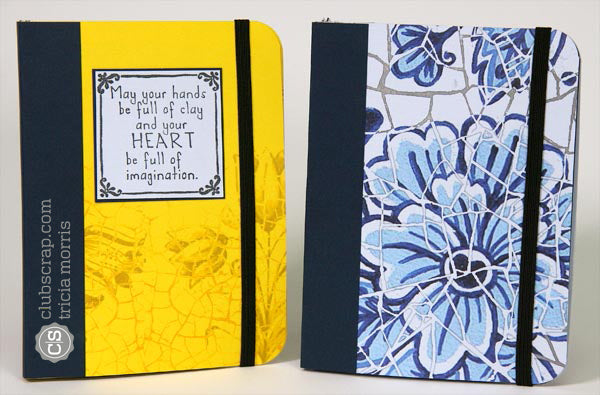
Last week I had the privilege of viewing the Artist Team Challenge on Alphabet Stencils and was introduced to the "Mini Wrap Journal" featured at Split Coast Stampers via Kelly's blog. Kelly followed the tutorial but had some challenges interpreting the instructions.

I loved the outcome of Kelly's project, but when I gave it a whirl, I also struggled with the construction. After burning through some paper, I made a few tweaks to simplify the book structure by making the outside cover from just one sheet of paper.
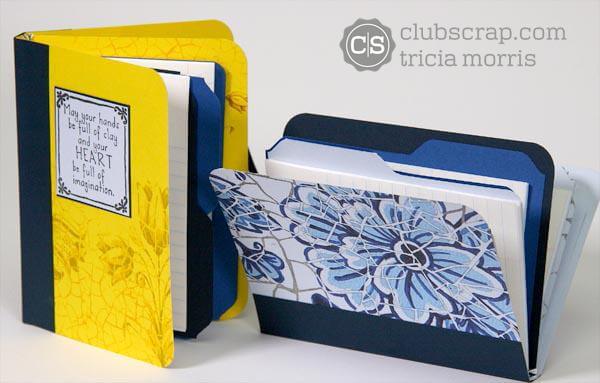
Create file folder sections for the journal with an Envelope Punch Board or die cut.
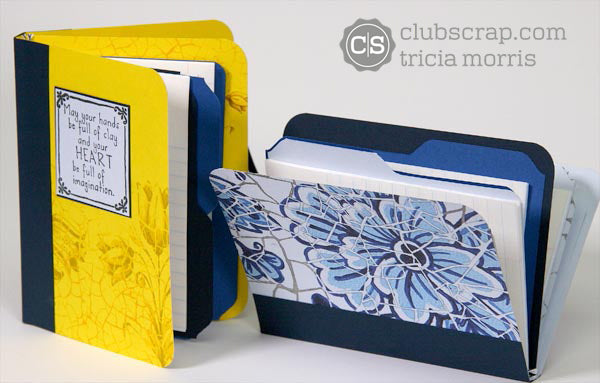
No sewing required on this wrap journal...simply wind the twine around an inner flap, and slide signatures beneath the thread.

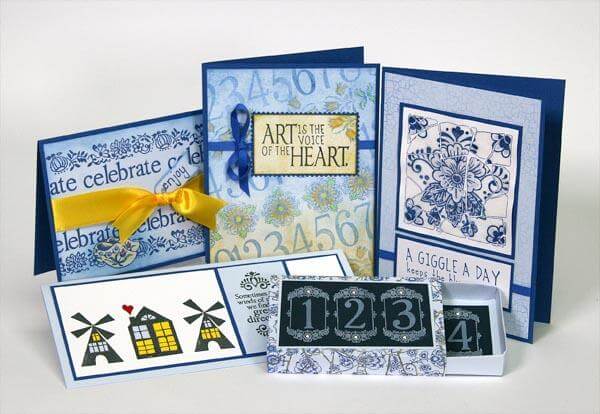
Follow the steps below to create one of your own with our beautiful Delft collection.
OUTSIDE COVER
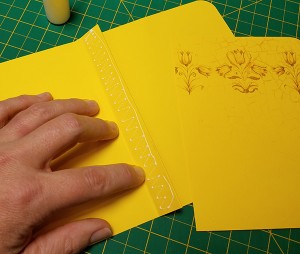
1. Score one 6x11" Delft Yellow Print (grain short) horizontally at 4.5, 4.75, 5.5, 6.25 and 6.5". On the plain side of the paper, make the center score a mountain fold, and make the two score lines left and right of the center into valley folds.

2. Flip the paper to the printed side and apply CS® Bookbinding Glue to one side of the .75" valley fold with a needle-tipped applicator.

3. Press the valley fold together to adhere. This will form a flap on the inside of the journal cover.

CENTER PAGE
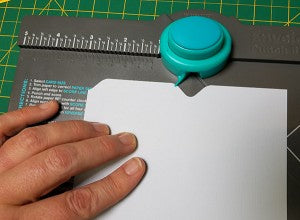
1. Trim a 4.5x6" Delft Yellow Print. Round the right corners with a Corner Chomper on the 1/2" setting. Round the four outside corners of the journal cover.

2. Apply glue to the left sid of the .75" flap. Adhere the 4.5x5" page to the glued edge.

3. Trim a 48" length of twine, string, or waxed linen thread. Wrap around the flap two complete times, remove slack, and tie ends.


SPINE COVER
1. Trim a 2-9/16x6" piece of Delft Dk. Blue, grain long.* Score vertically at 1". Rotate the piece 180 degrees and score again at 1". *Translation: Place a piece of Dk. Blue paper into the trimmer so it bends easily from left to right. Find 2.5" and scoot the paper to the left by a hair and cut. This additional 1/16" of an inch creates a better fit for the spine cover. Fold the scored paper to create a spine cover and slide into place to test the fit.

2. Apply glue to one 1" side of the spine cover; slide onto the spine of the Yellow book cover.

3. Flip the cover over, and apply glue to the other 1" flap; press into place and burnish. (Leave the spine portion free of glue for better book function.)

INSIDE FILE SECTIONS
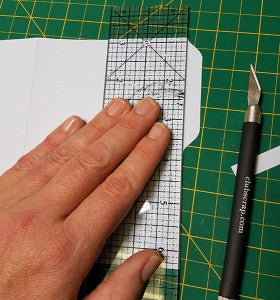
1. Trim four pieces of Delft paper to 5.5x8.5". Score horizontally at 4.25". If you have an Envelope Punch Board, create tabs for the page sections. Punch the short edge at the left corner and at 3". Rotate the paper 180 degrees and punch again at the same measurements. Repeat with the remaining three sheets.
2. Remove the 1/2" portion of paper below the 3" punch with a ruler and craft knife to create a tab. Repeat for the other side and for the remaining three sheets of paper.

INSIDE PAGES
1. Any type of paper can be added to the inside of the file sections. I chose to use inexpensive lined notebook paper. Trim six sheets vertically to remove the pre-punched holes on the left edge and cut in half horizontally to form two signatures of six pages each. Repeat.
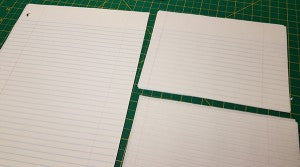
2. Fold each set of six pages in half to create four signatures.

3. Nest one signature inside a prepared file section.

BOOK ASSEMBLY
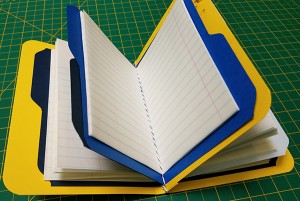
1. Open the book cover. Slide one signature beneath one section of twine on the left side of the center flap. Slide a second signature beneath a second piece of twine on the left side of the flap.

2. Add the remaining two signatures beneath the two strands of twine on the right side of the center flap.
CLOSURE
1. Measure and mark two holes on the inside back cover, .75" from the long edge, and 1.5" from each short edge.

2. Punch an 1/8" hole at each marked spot. Insert the ends of an Elastic Band Closure into each hole with the barbs on the inside of the back cover.

3. Close the book and wrap the elastic around to the front.

I love the flexibility of this book structure. Pages can be added and removed easily, allowing this to function as a rotating task list, travel notebook, or project planner. I can't wait to put it to use!
 Now, it's your turn to make one!
Tricia