The next best thing to seeing the cards and layouts "in real life" is having the photography skills of Kay Williamson come to our aid.
Let's review a few of the highlights from the 50s Kitchen collection.
50s Kitchen Deluxe Kit
LAYOUTS 1 & 2
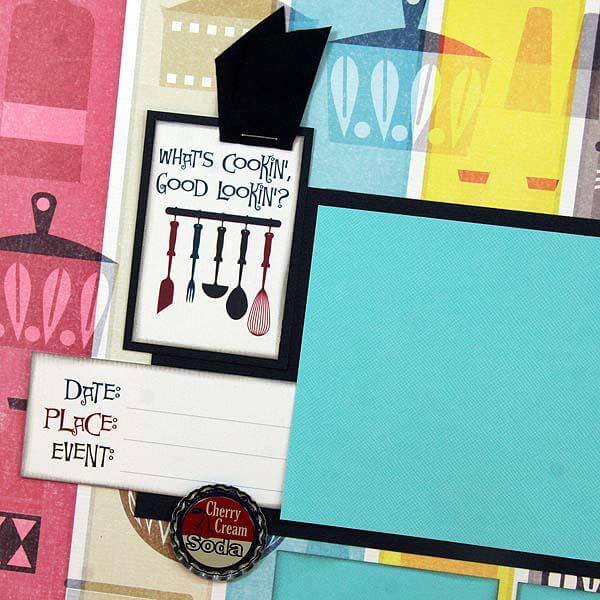
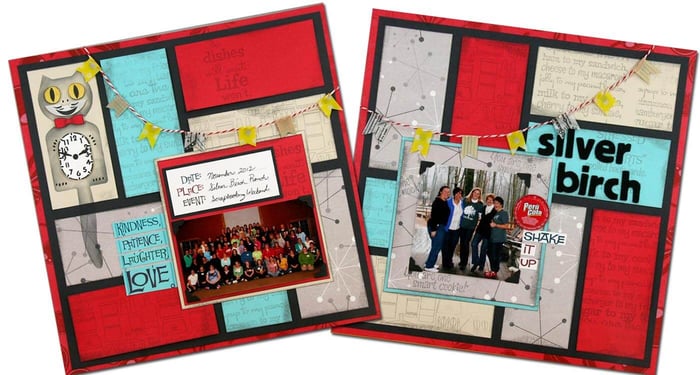
We hit the jackpot on goodies this month. Each kit contains five unique retro flattened bottle caps. (There were many different "flavors" which Deb carefully sorted and packaged.)
Allow the base artwork on the paper to jump into the foreground by using a craft knife to create a slot for the printed cutapart.
The Sunny Polka Dot Washi Tape is featured in the embellishment pack. It's so fabulously 50s!
LAYOUTS 3 & 4
The fiber pack features a printed diamond grosgrain, and you're also going to love the wide black crinkled ribbon. It's soft, lightweight, and easy to work with.
LAYOUTS 5 & 6
The cutaparts, bottle caps and ribbon make terrific collage material. I'm looking forward to seeing what you do with the elements!
LAYOUTS 7 & 8
This image on the printed cutaparts and on the 12x12 White Print reminds me of the wallpaper in my Grandma's kitchen. We hope this kit brings back a few nostalgic memories of your own.
LAYOUTS 9 & 10
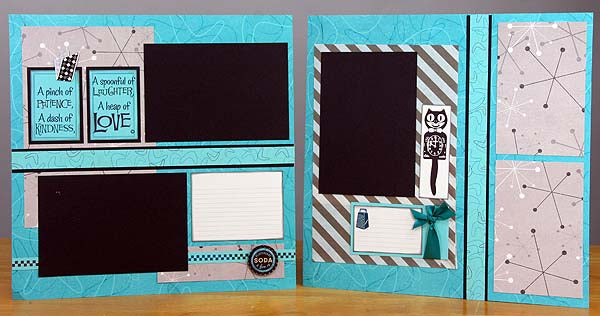
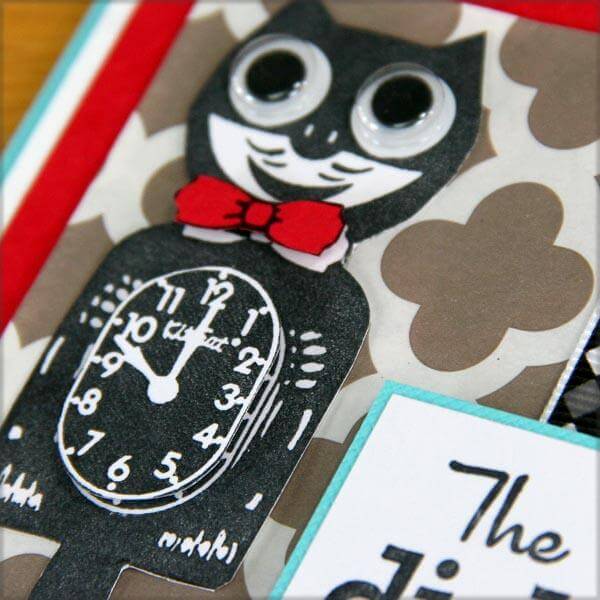
The Cat Clock Stencil overlay . . . we're going to have some fun with that!
LAYOUTS 11 & 12
The 5x7" printed bags feature patterns that look neat when used as a background element. Simply trim the side and bottom seams to open the bag and lay it flat.
LAYOUTS 13 & 14
The white square is placed onto the plain side of an Aqua printed cutapart. Remember . . . you can always use the printed or plain side of anything to suit your needs!
50s Kitchen Greetings to Go
This is the first month in which the Greetings to Go cards are an "all-inclusive" set requiring no additional stamping supplies to complete the front panels of all twelve cards. If you're more inclined to create your own artwork, all pre-printed cutaparts can be flipped over to the plain side for your stamping enjoyment.
SET A
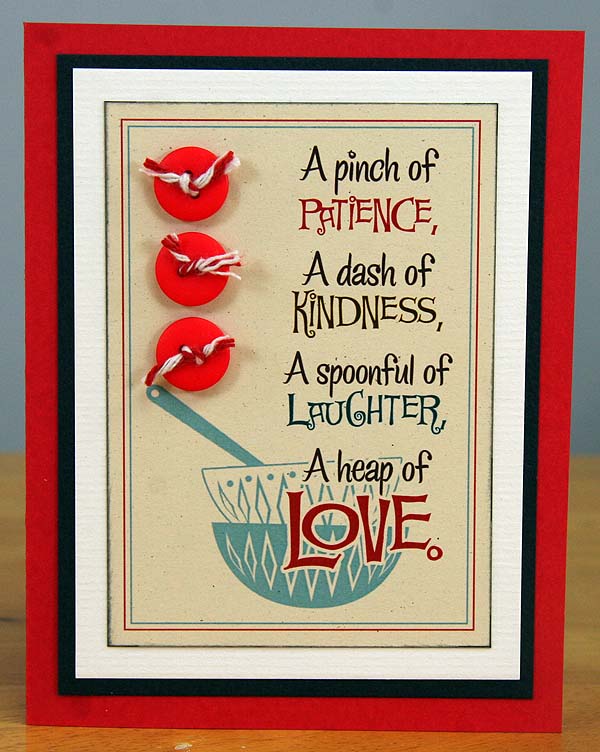
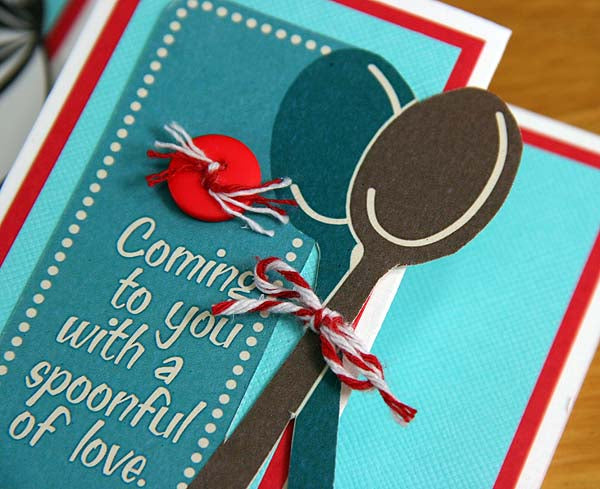
How about those cute red buttons tied with the candy cane baker's twine? Use a bookbinding needle to easily thread the twine onto each button.
SET B
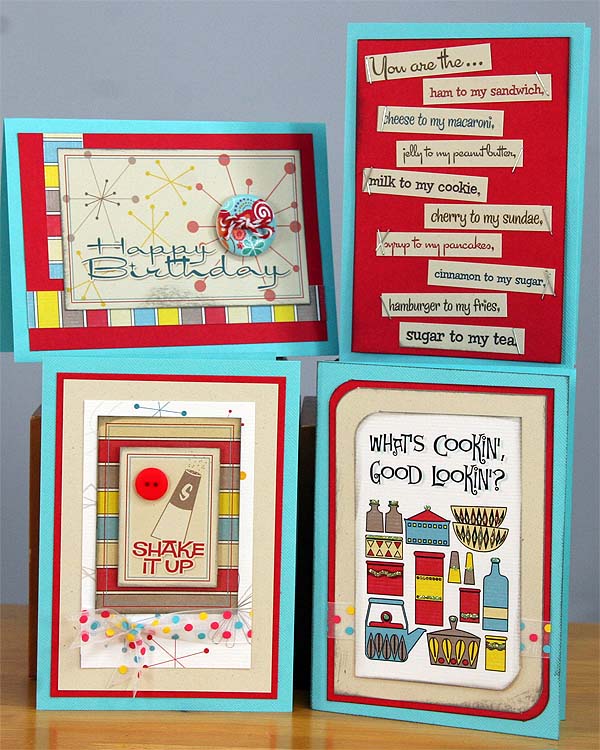
The sentiment is designed to be cut into strips. Adhere the strips onto the Red panel and then add "decorative" staples for fun.
SET C
Each printed cutapart is designed to have a panel that fits perfectly onto the narrow flap of the card. Simply trim along the right edge of the image, and it will sweetly peek out past the card flap.
Have fun baking up your ideas!
Tricia
