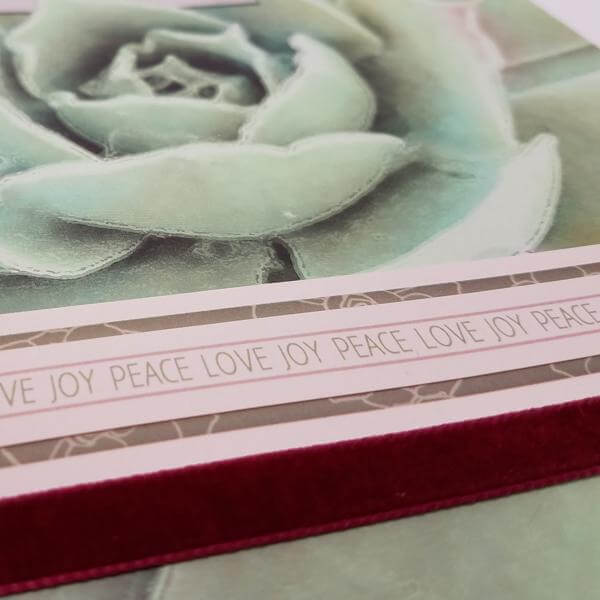
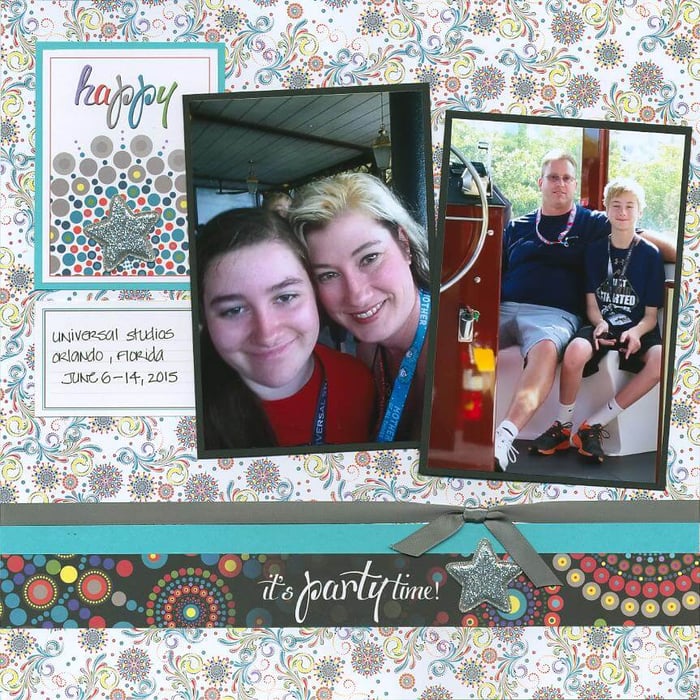
The February Lite kit leaves the warehouse today! If you follow the page assembly instructions included with your kit, you'll make eight beautiful pages!

Let's take a closer look at each double page spread to learn a a few assembly tips.
SUCCULENTS LITE KIT
LAYOUTS 1 & 2

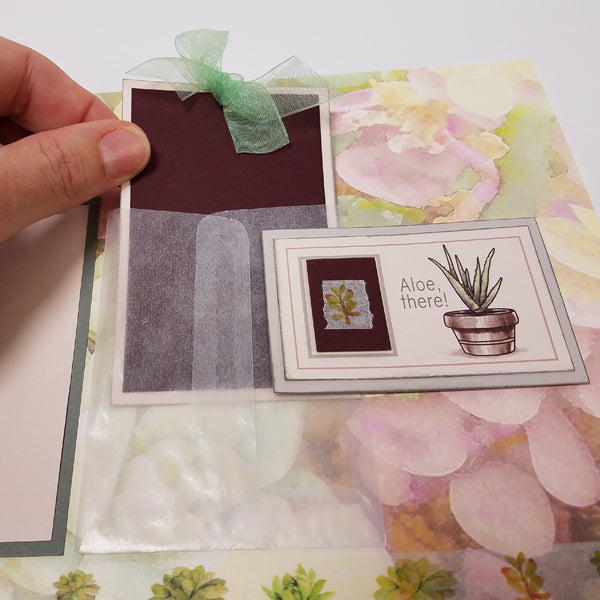
The little glassine bags in the kit make cute pockets for more "private" journaling or a supplementary photo. Punch a hole in the top of the nested mats and top with organza ribbon. Tear a small image from the washi tape and add to the small Wine mat nested on the cutapart.
LAYOUTS 3 & 4

The "house favorite" print from this collection is the base paper for layout four. Bring the center of the large succulent image into the foreground by cutting a slot for the Pebble mat with a craft knife and cutting mat.

LAYOUTS 5 & 6

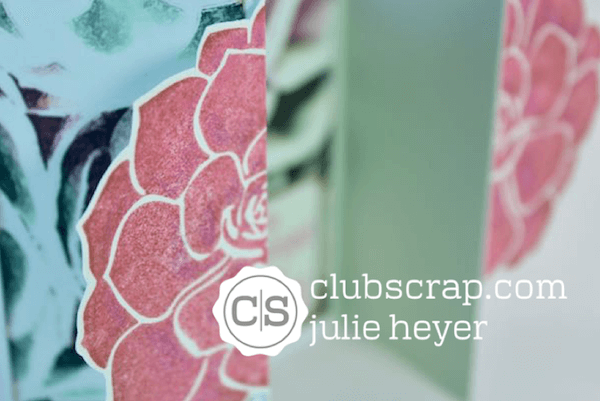
Use the three-part Hens & Chicks Overlay Stencil to create artwork on the right edge of the 12x12 Dk. Green Plain used as the base for layout six. Take the following steps to use the overlay:
1. Place the most open layer of the stencil in the desired location. Pierce or mark the two registration marks closest to the layer.

2. Lightly apply a layer of ink to the stencil openings with a CS® Ink Applicator.

3. Re-align the registration marks with the second-most open layer of the stencil on top of the first. Add a heavier application of ink to the stencil openings.
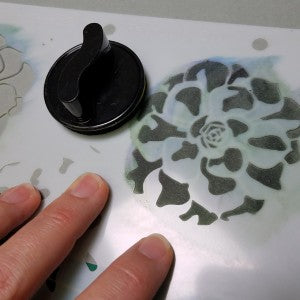
(Layer one and layer two complete.)

4. Rotate the stencil to align the registration marks nearest to the third layer of the image. Apply White or Parchment pigment to the stencil openings.
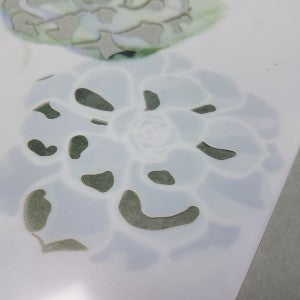
And there you have a beautiful image with low-lights and highlights! Experiment with different ink and paper color combinations.

LAYOUTS 7 & 8

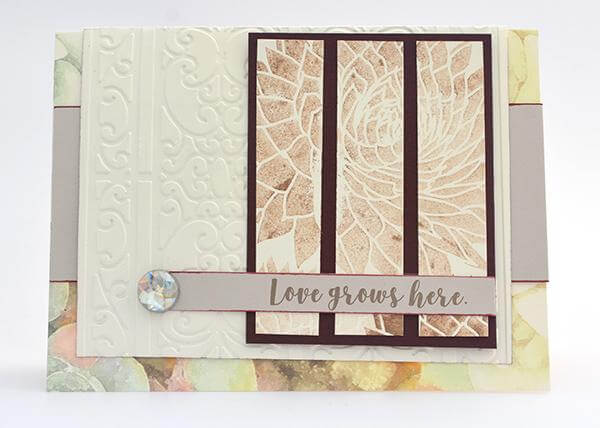
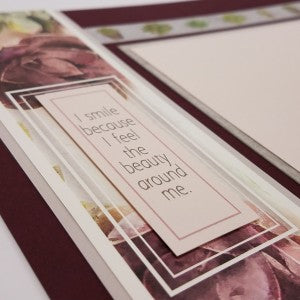
The Ivory cutapart strip anchoring the left side of the layout has a spot designed to nest with a Pink cutapart. Attach with foam adhesive to add a bit of depth to the page heading.
If you're not a member but still want to add this beautiful Succulents Lite collection to your stash, order one today!
Tricia

